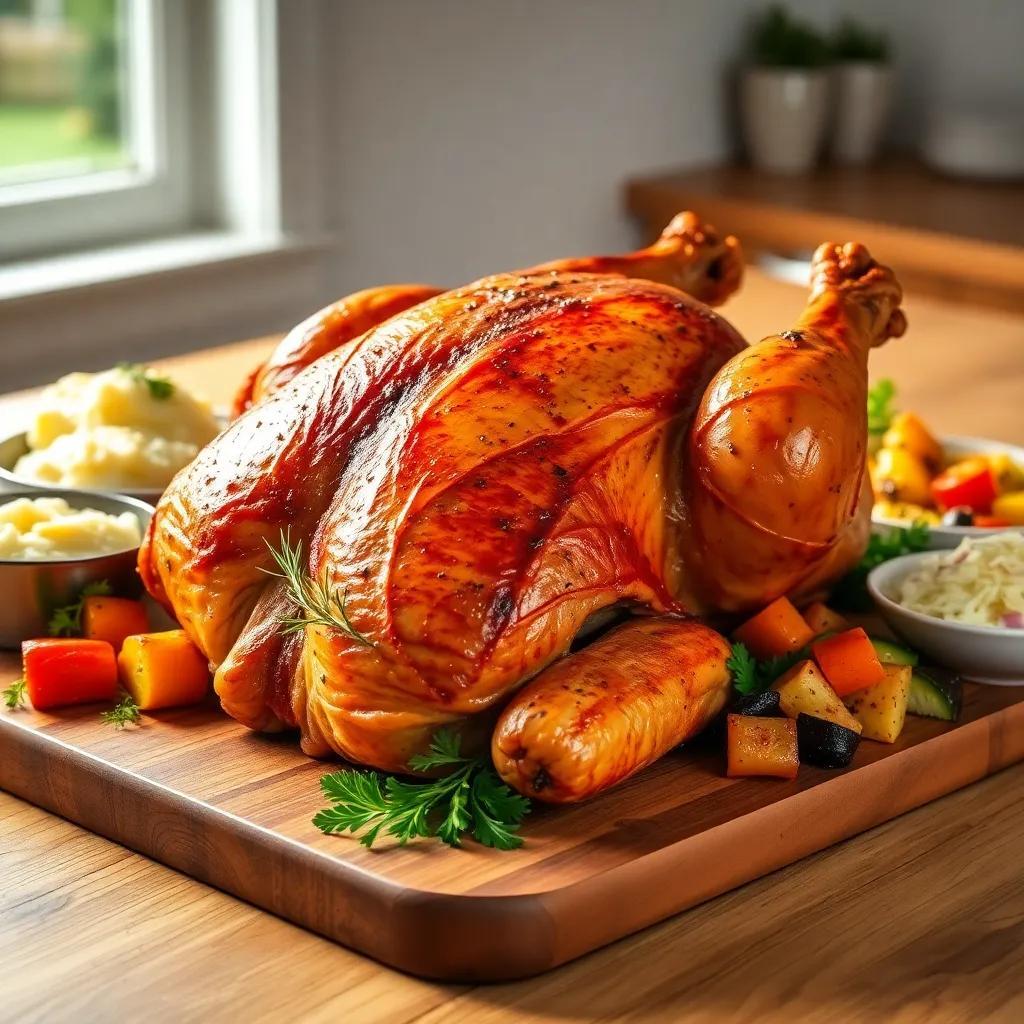
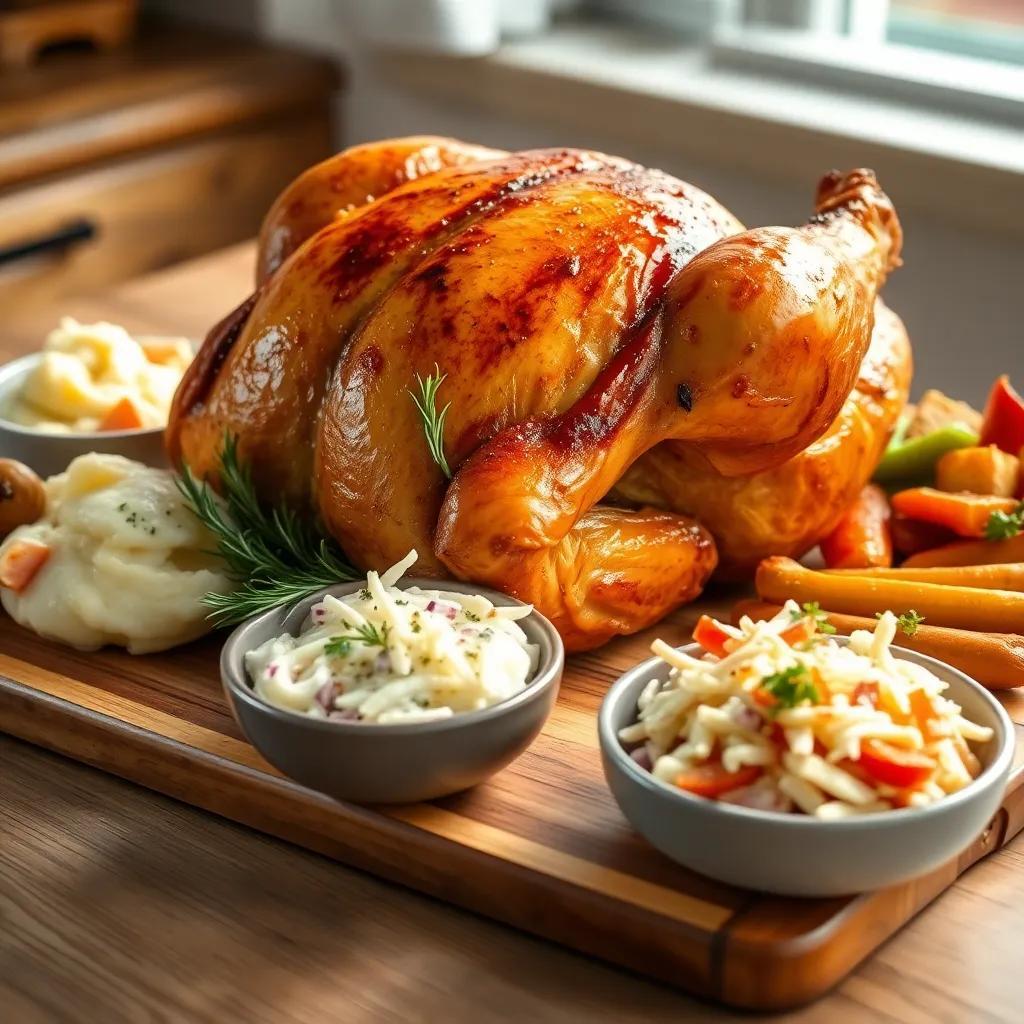
rotisserie chicken

Are you ready to impress your family with a delicious rotisserie chicken that you made right at home? it’s easier than you might think, and the results are absolutely mouthwatering! Join me as I share my favorite tips and tricks for making this flavorful dish, plus how to serve it up and keep those leftovers tasty!
Simple Ingredients for Delicious Rotisserie Chicken
making a mouthwatering rotisserie chicken at home is all about using simple, wholesome ingredients that come together beautifully. Here’s what you’ll need to create a flavorful meal:
- 1 (3-pound) whole chicken: Look for fresh or thawed chicken to ensure juicy meat.
- 1 tablespoon kosher salt: This will help season the chicken and enhance the flavors.
- ¼ cup unsalted butter, melted: For that rich, savory basting that keeps the skin crispy.
- 1 tablespoon smoked paprika: This adds a lovely depth of flavor and a hint of smokiness.
- ¼ tablespoon freshly ground black pepper: A touch of spice that’ll balance the dish beautifully.
- Kitchen twine: Optional but great for tying up the chicken for even cooking.
These ingredients are easy to find at your local grocery store. They work together to create deep, savory flavors in your chicken. If you’re looking to elevate your dish even further, consider using a specialty seasoning blend or fresh herbs like thyme or rosemary for extra flavor!
step-by-Step Instructions for Perfect Rotisserie Chicken
Now that you have your ingredients ready, let’s get cooking! Follow these simple steps to make your own rotisserie chicken that’s sure to impress:
- Prepare the grill: Preheat your outdoor grill to high heat and lightly oil the grate. A clean grill ensures even cooking and prevents sticking.
- Season the chicken: Sprinkle the inside of the chicken cavity with kosher salt. This step is key for flavor!
- Secure the chicken: Tie the legs together with kitchen twine, and if you’d like, tuck the wings under the body. This helps everything cook evenly.
- Attach to the rotisserie: Securely mount your chicken on the rotisserie attachment. Make sure it’s tight to prevent any mishaps while cooking!
- Initial cooking: Place the rotisserie over the hot grill and cook for about 10 minutes. This helps to start crisping the skin.
- Prepare for basting: While the chicken cooks, mix together the melted butter, smoked paprika, kosher salt, and black pepper in a small bowl.
- Adjust the heat: Turn the grill down to medium heat. Baste the chicken with your butter mixture using a brush or spoon, covering it generously.
- Cook thoroughly: Close the grill lid and continue to cook, basting occasionally. Your chicken should be done when it reaches an internal temperature of 180°F (83°C), which usually takes about 1 to 1.5 hours depending on the size.
- Rest before carving: Onc your chicken is cooked to perfection, remove it from the grill and let it rest for 10 to 15 minutes. This allows the juices to redistribute for tender, juicy meat.
Enjoy your homemade rotisserie chicken! The crispy skin and succulent meat make it a crowd-pleaser without a doubt.

Serving and Storage Tips for Savory rotisserie Chicken
Once your rotisserie chicken is ready,the deliciousness doesn’t have to end there! Here’s how to serve and store it to keep that flavor alive.
Serving Suggestions:
I love to serve my rotisserie chicken with a variety of sides to create a complete meal. Here are some ideas:
- Classic coleslaw: The crunchiness of coleslaw beautifully complements the juicy chicken.
- Creamy mashed potatoes: A comforting side that soaks up all the delicious juices.
- Roasted vegetables: Carrots, Brussels sprouts, or potatoes are tasty options that add color to your plate.
- Garlic bread: Perfect for sopping up any remaining sauce or gravy.
Feel free to get creative with your sides! You can also shred the chicken and toss it in salads, wraps, or tacos for fast, delicious meals throughout the week.
Storage:
If you have leftovers (which might be hard to resist), here’s how to store your rotisserie chicken properly:
- refrigerate: allow the chicken to cool wholly, then wrap it tightly in plastic wrap or foil, or place it in an airtight container. It’ll stay fresh in the fridge for up to 3-4 days.
- Freeze: For longer storage, consider freezing any leftover chicken. Just be sure to shred or portion it before placing it in freezer-safe bags or containers. Frozen chicken can last for up to 4 months.
To reheat, simply thaw in the refrigerator overnight and warm it in the oven or microwave until heated through.
Expert Recipe Notes and Troubleshooting for Rotisserie Chicken
Cooking a rotisserie chicken might seem straightforward, but there are a few tips and tricks that can elevate your results:
Notes:
- Choosing the chicken: I recommend selecting a fresh, organic chicken whenever possible. The quality of the meat really shines through in the flavor.
- Butter baste: Don’t skip the basting process! It’s crucial for achieving that crispy skin. If you notice the skin browning too quickly, lower the grill heat to prevent burning.
Troubleshooting:
- Dry chicken: If your chicken turns out dry, it might have been cooked too long.Always use a meat thermometer to check for doneness; aim for an internal temperature of 180°F (83°C).
- Soggy skin: If the skin isn’t crispy, it could be due to too much moisture while cooking. Make sure the grill lid is closed while cooking to create a dry heat environment, and ensure proper basting.
With these serving and storage tips, and also helpful notes, you should be set up for success with your rotisserie chicken! Enjoy the flavors and versatility of this delicious dish.
