
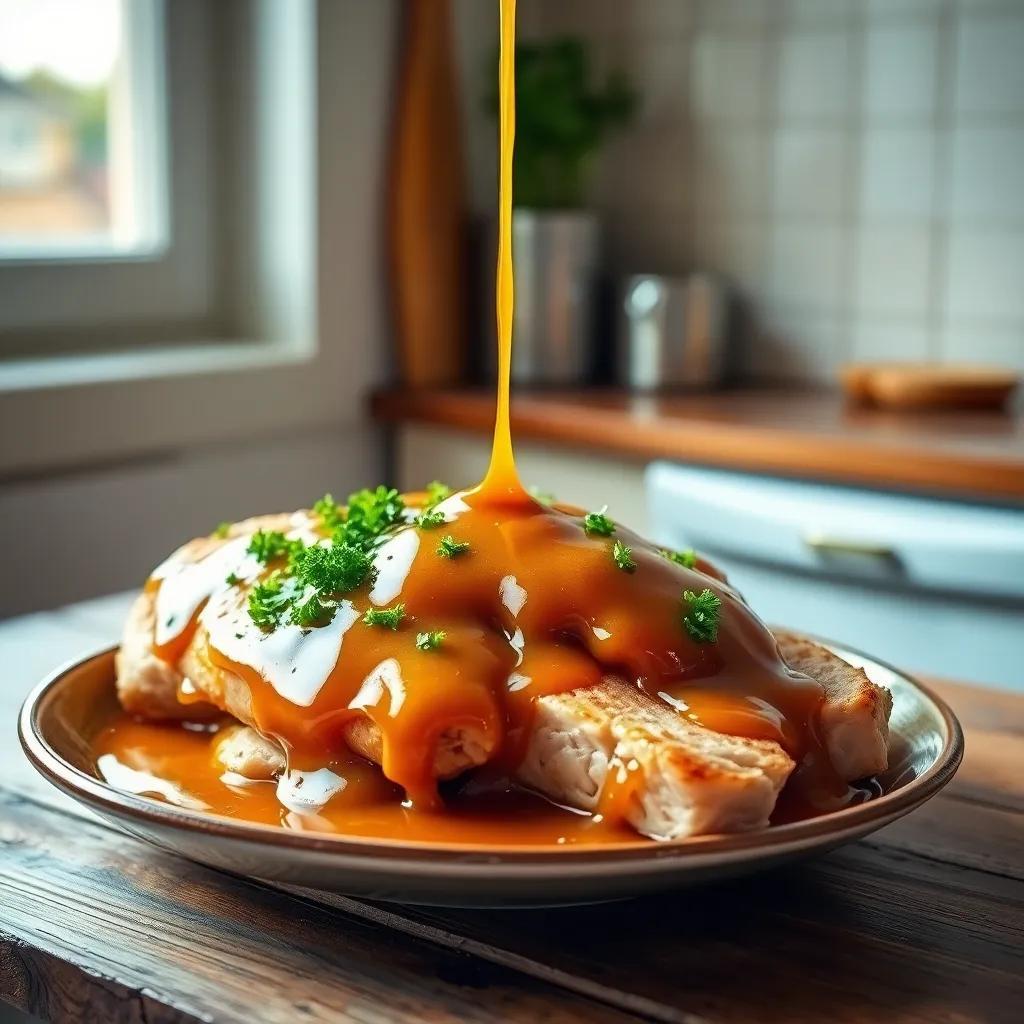
roast chicken pan gravy
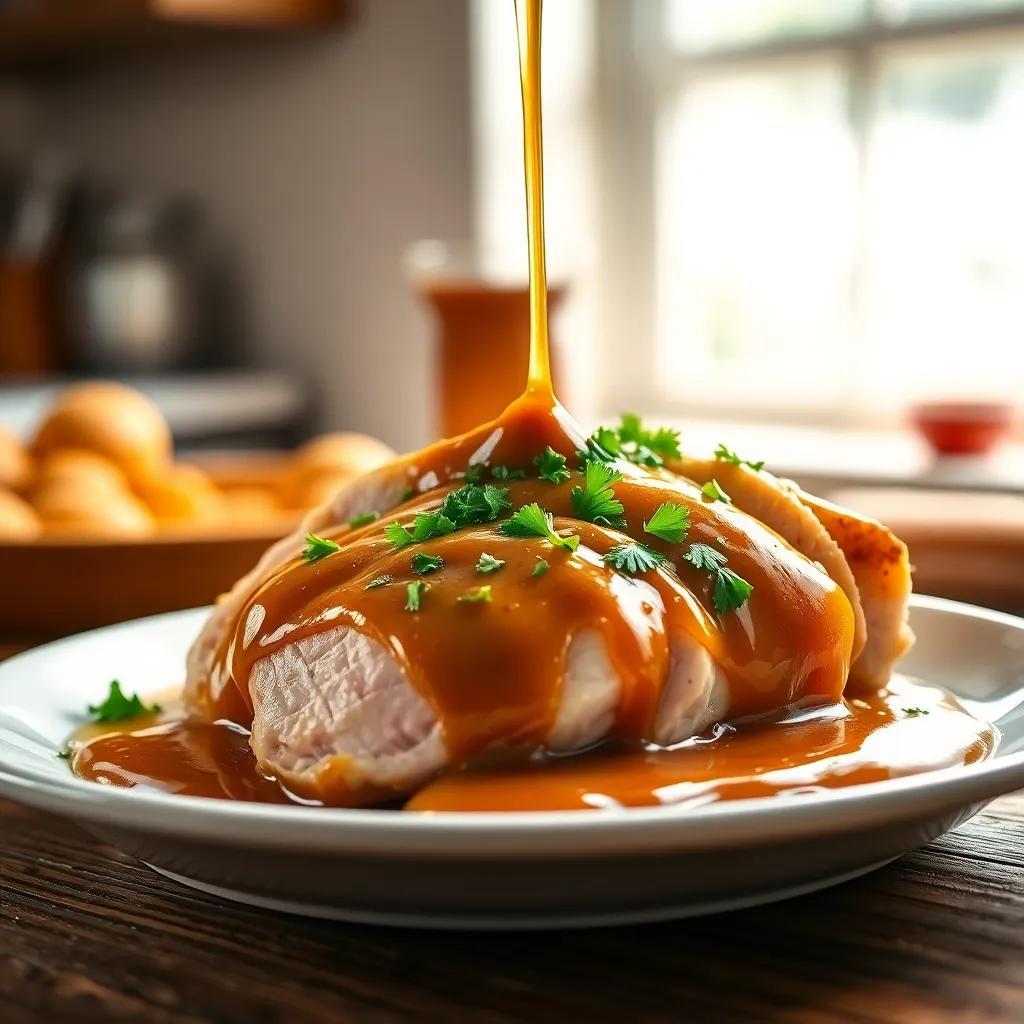
Are you ready to take your dinner to the next level? Making a rich and savory Roast Chicken Pan Gravy is easier than you might think! With just a few simple ingredients, you can transform those tasty drippings into a sauce that everyone will love. Why settle for plain when you can have appetizing? Let’s get started!
Cook Time: 15
Prep Time: 5
Yields: 4
Calories: 132
markdown
Simple Ingredients for Delicious Roast Chicken Pan Gravy
Creating a rich and flavorful Roast Chicken Pan Gravy is easier than you might think. Gather these essential ingredients to whip up a gravy that will elevate your meals, whether you're serving a holiday feast or a casual family dinner.
Ingredients:
- ¼ cup drippings from a roasted chicken: This is your flavor base, capturing all those delicious bits from the roasting process.
- 2 ½ tablespoons all-purpose flour: This will help thicken your gravy and give it that luscious texture.
- 2 cups cold chicken stock: Using cold stock helps the gravy come together smoothly. You can adjust this quantity to reach your desired consistency.
- Salt and ground black pepper: These simple seasonings will enhance the flavors and balance your final dish. Be ready to taste and adjust as needed!
these straightforward ingredients are perfect for making a classic gravy that can accompany a variety of roasted meats. The drippings from your chicken will provide a deep, savory flavor, while the stock adds richness. The flour acts as a thickening agent, making your gravy silky and smooth. Let’s roll up our sleeves and get ready to create something that not only tastes amazing but also brings everyone to the table!
Step-by-Step Instructions for Perfect Roast Chicken Pan Gravy
Now that we have our ingredients ready, let’s dive into making this delectable Roast Chicken Pan Gravy.Follow these simple steps for gravy that’s sure to impress:
- Collect the Drippings: After roasting your chicken, pour the drippings into a bowl, separating the fat from the liquid. Set aside the fat for the gravy.
- Mix with Flour: In a pan, whisk the remaining drippings with the 2 ½ tablespoons of flour. The flour will initially absorb the drippings and appear dry.
- Add Fat: Stir in 2 tablespoons of the reserved fat. This will help create a smooth mixture and combine the flavors.
- Toast the flour: With the pan over low heat, toast the flour mixture for about 5 minutes. You’re looking for a light brown color and a nutty aroma.
- Incorporate Stock: Gradually drizzle in 1/3 cup of cold chicken stock at a time, whisking thoroughly after each addition. This prevents lumps and allows for a silky texture.
- Simmer: Bring the mixture to a simmer. Continue whisking while scraping the browned bits from the bottom of the pan. This adds depth to your gravy!
- Thicken: Cook for about 8 to 10 minutes until the gravy thickens. Keep whisking to maintain a smooth consistency. Season with salt and pepper to taste.
- Strain if Desired: for an ultra-smooth finish, feel free to strain the gravy through a fine-mesh sieve before serving.
And there you have it! Simple, straightforward steps to a delicious gravy that pairs perfectly with your roast chicken. Enjoy the rich flavor alongside your favorite sides,and be ready for everyone to ask for seconds!
markdown
Serving and Storage Facts for Roast Chicken pan Gravy
After you've whipped up this delicious Roast Chicken Pan gravy, it's time to think about how to serve and store it properly. Gravy is a versatile sauce that can enrich any meal, especially when paired with roasted meats, mashed potatoes, or savory bread.
Serving Suggestions:
- Perfect Pairings: Serve your gravy generously over slices of roasted chicken, alongside your favorite sides like mashed potatoes or roasted vegetables. You can also drizzle it over stuffing or biscuits for a comforting touch.
- Serving Temperature: Enjoy your gravy warm. If it cools down, simply reheat it gently on the stovetop, whisking in a splash of chicken stock to restore its smooth consistency.
Storage Tips:
- Refrigeration: If you have any leftover gravy, store it in an airtight container in the refrigerator. It will keep well for about 3 to 4 days. When you're ready to use it again, just reheat as mentioned earlier.
- freezing for Later: For longer storage, freeze your gravy in freezer-safe containers. It can last up to 2 to 3 months. When you're ready to use it, transfer it to the refrigerator to thaw overnight or reheat directly from the freezer, adding a little extra stock to regain that velvety texture.
This Roast Chicken Pan Gravy isn’t just for special occasions; it’s perfect for enhancing weeknight dinners too! With the right storage techniques, you can enjoy the rich flavors of this gravy anytime.
Recipe Notes and Troubleshooting for Perfect roast Chicken Pan Gravy
Creating the perfect Roast Chicken Pan Gravy can sometimes come with challenges, but I'm here to help you troubleshoot common issues and ensure your gravy turns out amazing every time.
Common FAQs:
- Gravy Too Thick? If your gravy is thicker than you'd like, simply whisk in a bit more chicken stock until it reaches your desired consistency. A little at a time goes a long way!
- Gravy Too Thin? if you find your gravy is runny,continue to simmer it over low heat while whisking frequently. This will help it thicken up naturally. You can also create a rapid slurry by mixing a small amount of flour with cold water, then whisking that into your gravy.
Tips for the Best Flavor:
- Deglazing: After you've removed the chicken, consider deglazing the roasting pan with a bit of white wine or additional stock.This action lifts all those flavorful brown bits, adding depth to your gravy.
- Fresh Herbs: If you have them on hand, try adding fresh herbs like thyme or rosemary during the simmering stage.They can introduce a delightful aroma and complexity.
With these notes and troubleshooting tips, you'll be equipped to tackle any questions that arise while making your gravy. Enjoy crafting this delicious addition to your meal!