
perfect crispy fried chicken
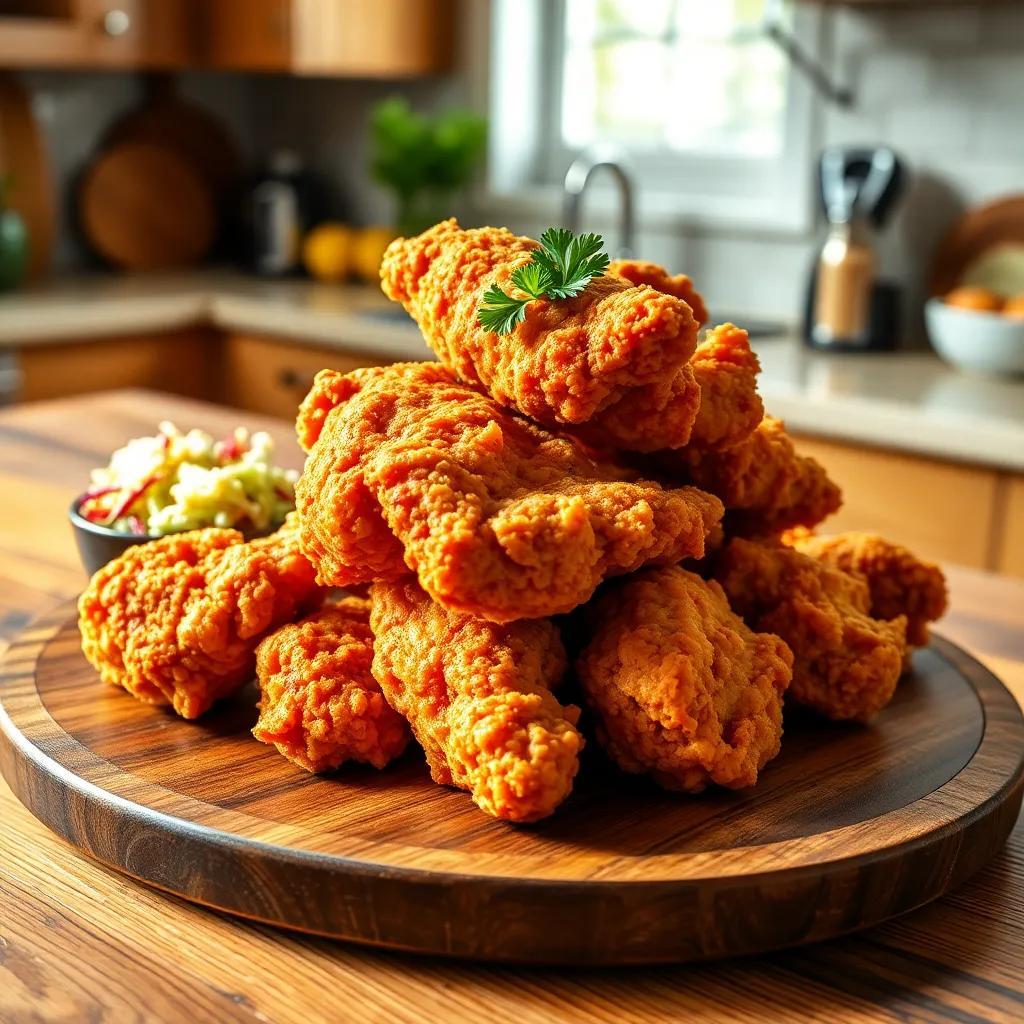
Have you ever craved that perfect, crispy fried chicken that makes your taste buds dance? I know I have! In this article, I’m excited to share my ultimate recipe for crunchy fried chicken, along with tips for serving and storing it like a pro. Trust me, once you try this, you’ll be hooked!
Simple Ingredients for Appetizing Crispy fried Chicken
When it comes to making crispy fried chicken, using quality ingredients is key! Here’s what you’ll need to whip up this mouthwatering dish:
- 3 chicken leg quarters, split into thighs and drumsticks for the perfect balance of tenderness and flavor.
- 2 cups buttermilk – this adds moisture and a tangy flavor that helps create that juicy chicken inside.
- ¾ cup all-purpose flour – a classic breading ingredient that gives the chicken a satisfying crunch.
- ¼ cup cornmeal – this gives the coating an extra crispy texture that you’ll love.
- 1 tablespoon salt – for seasoning the chicken just right.
- 1 teaspoon granulated onion – adds a subtle sweetness and depth of flavor.
- 1 teaspoon granulated garlic – enhances the savory notes of the chicken.
- 1 teaspoon ground thyme – introduces a lovely herbal aroma.
- ½ teaspoon paprika – adds a mild, sweet pepper flavor and gives the chicken a beautiful color.
- ¼ teaspoon monosodium glutamate (MSG) (optional) – enhances the savory flavor, making each bite more delicious.
- ¼ teaspoon baking powder – this helps create a fluffy texture in the coating.
- ⅛ teaspoon cayenne pepper – for a hint of heat that kicks things up a notch.
- 4 large egg whites, beaten until foamy – this creates an effective binder for the flour mixture.
- 4 cups vegetable oil (or enough for frying) – you’ll need this for frying to get that golden-brown perfection.
These ingredients work together to create an unforgettable crunchy bite. You can get creative by adding your favorite spices or dipping sauces!
Step-by-Step Instructions for Perfectly Fried Chicken
Frying chicken may seem tricky, but I’m here to guide you through the process! just follow these steps for that perfect crispy fried chicken:
- Marinate the Chicken: Start by placing the chicken quarters in a large bowl and pouring in the buttermilk until thay are fully immersed. Cover the bowl and let it refrigerate for 12 to 24 hours. This step is essential for tender, juicy chicken!
- Prepare the Coating: In a separate bowl, combine the flour, cornmeal, salt, granulated onion, granulated garlic, thyme, paprika, MSG, baking powder, and cayenne pepper. Mix thoroughly to ensure all the ingredients are well blended.
- Coat the Chicken: After marinating, remove the chicken from the buttermilk and let the excess drip off. Pat it dry with paper towels, then dip each piece into the beaten egg whites. Next, dredge it in the flour mixture, pressing firmly to adhere the coating. Place the coated chicken on a wire rack and allow it to rest for 20 to 30 minutes. This helps the breading stick better during frying.
- Heat the Oil: While the chicken rests, fill a cast iron skillet or deep fryer with oil, about 1/3 full, and heat it to 350°F (175°C). Preheat your oven to 250°F (120°C) to keep the fried chicken warm later.
- Fry the Chicken: Carefully lower the chicken pieces into the hot oil, making sure not to overcrowd the pan.Fry for 8 to 10 minutes per side until golden brown, with an internal temperature reaching at least 165°F (74°C). Use an instant-read thermometer for accuracy.
- Drain and Keep Warm: Once the chicken is cooked, transfer it to a wire rack or a paper towel-lined tray to drain excess oil. If you have more chicken to fry, keep the fried pieces warm in the preheated oven until everything is ready.
Now you have beautifully fried chicken! It’s time to savor the crunch.
Serving and Storage tips for Your Crispy Fried Chicken
once you’ve made this delicious crispy fried chicken, you’re probably eager to dig in! but before you do, let’s talk about how to serve and store it properly to maximize freshness and flavor.
Serving Suggestions
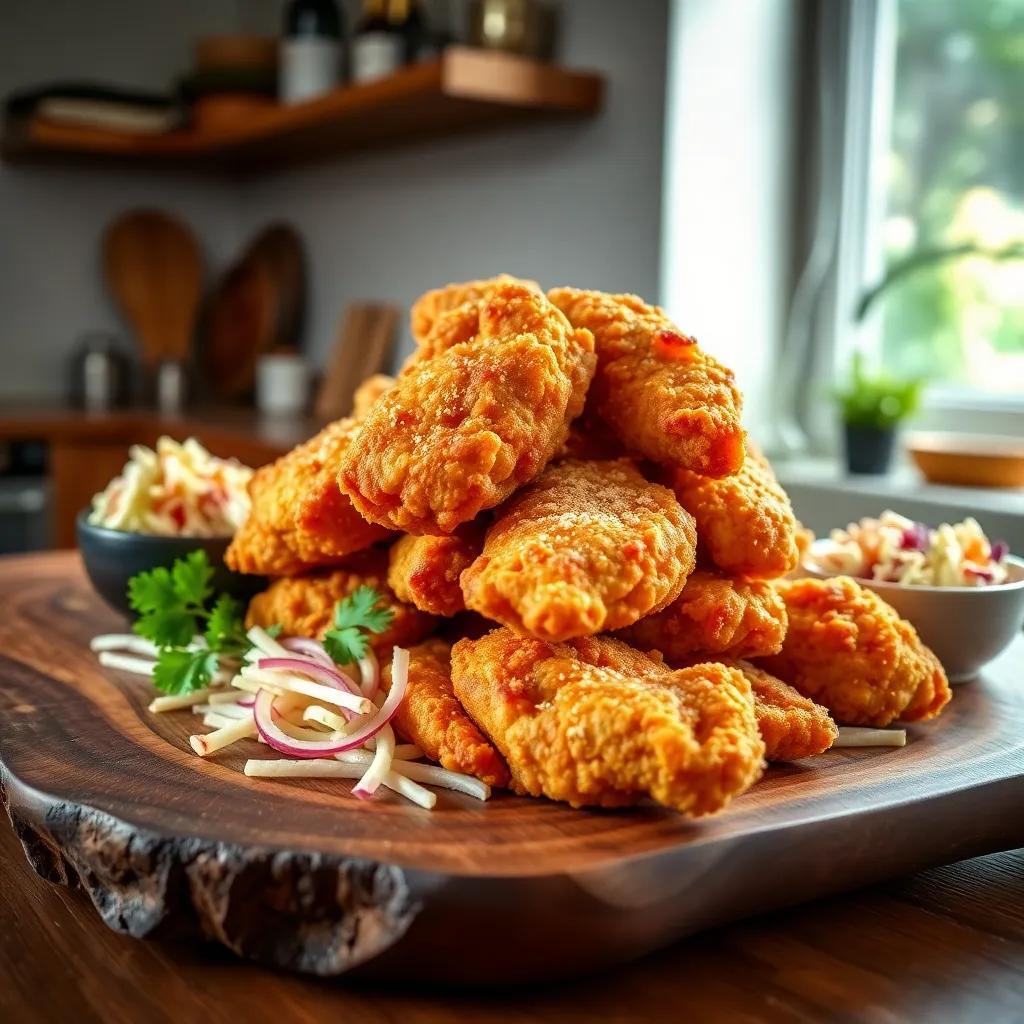
For a truly satisfying meal, I like to serve my fried chicken with a few sides that complement its crispy texture. Here are some ideas:
- Classic Coleslaw: The crunch of coleslaw balances out the richness of the chicken.
- Mashed Potatoes: Creamy mashed potatoes are a comforting addition.
- Corn on the Cob: Sweet, buttery corn adds a delightful touch.
- Dipping Sauces: Try serving with honey mustard or a homemade spicy mayo for an extra flavor kick.
This chicken is fantastic right out of the fryer, but it can also be dressed up in sandwiches or wraps for a fun lunch option!
Storage Guidelines
If you happen to have leftovers (though that might be a rarity!), it’s important to store them correctly. Here’s how to keep your fried chicken fresh:
- Cooling: Allow the chicken to cool to room temperature before storing. Avoid placing hot chicken directly into the fridge, as it can raise the temperature and compromise food safety.
- Refrigeration: Place leftover chicken in an airtight container. It can be refrigerated for up to 4 days.
- Freezing: For longer storage, freeze the chicken. wrap each piece tightly in plastic wrap and then place it in a freezer-safe bag. It can last for about 2 to 3 months in the freezer.
Reheating
When you’re ready to enjoy leftover chicken, reheating is key to preserving its crispy coating:
- Oven: Preheat your oven to 375°F (190°C). Place chicken on a baking sheet and heat for about 15 to 20 minutes until warmed through.
- Air Fryer: This method is fantastic for maintaining the crunch! Heat at 350°F (175°C) for about 10 minutes.
With these serving and storage tips, you can enjoy your crispy fried chicken at its absolute best!
Recipe Notes and Troubleshooting Tips for Perfect Fried Chicken
Cooking fried chicken can be a rewarding experience, but sometimes things don’t go as planned. Here are some notes and troubleshooting tips to ensure your chicken turns out perfectly every time.
Marinating
- Buttermilk substitutes: If you don’t have buttermilk on hand,you can make a quick substitute by mixing 1 cup of milk with 1 tablespoon of vinegar or lemon juice. Let it sit for about 5-10 minutes before using.
Coating
- Breading Sticking Issues: If the coating seems to fall off while frying, it might be due to not letting the chicken rest after coating. Allowing it to sit on a wire rack for 20 to 30 minutes helps the breading adhere better.
Frying
- Oil Temperature: Keeping the oil at the right temperature is crucial. If it’s too hot, the coating may burn before the chicken cooks through. If it’s too cool, the chicken will become greasy.A thermometer is your best freind here!
- Batch Cooking: Don’t overcrowd the pan. Frying in batches ensures even cooking and prevents the oil temperature from dropping too low.
Final Touches
- Crispiness Level: if you prefer extra crispy chicken, you can double-dip! After the first coating, dip the chicken back in the egg whites and then in the flour mixture again for that crunchier texture.
With these tips in mind,you’ll be well-prepared to tackle any challenges and create a delicious batch of crispy fried chicken every time!