
millie pasquinellis fried chicken
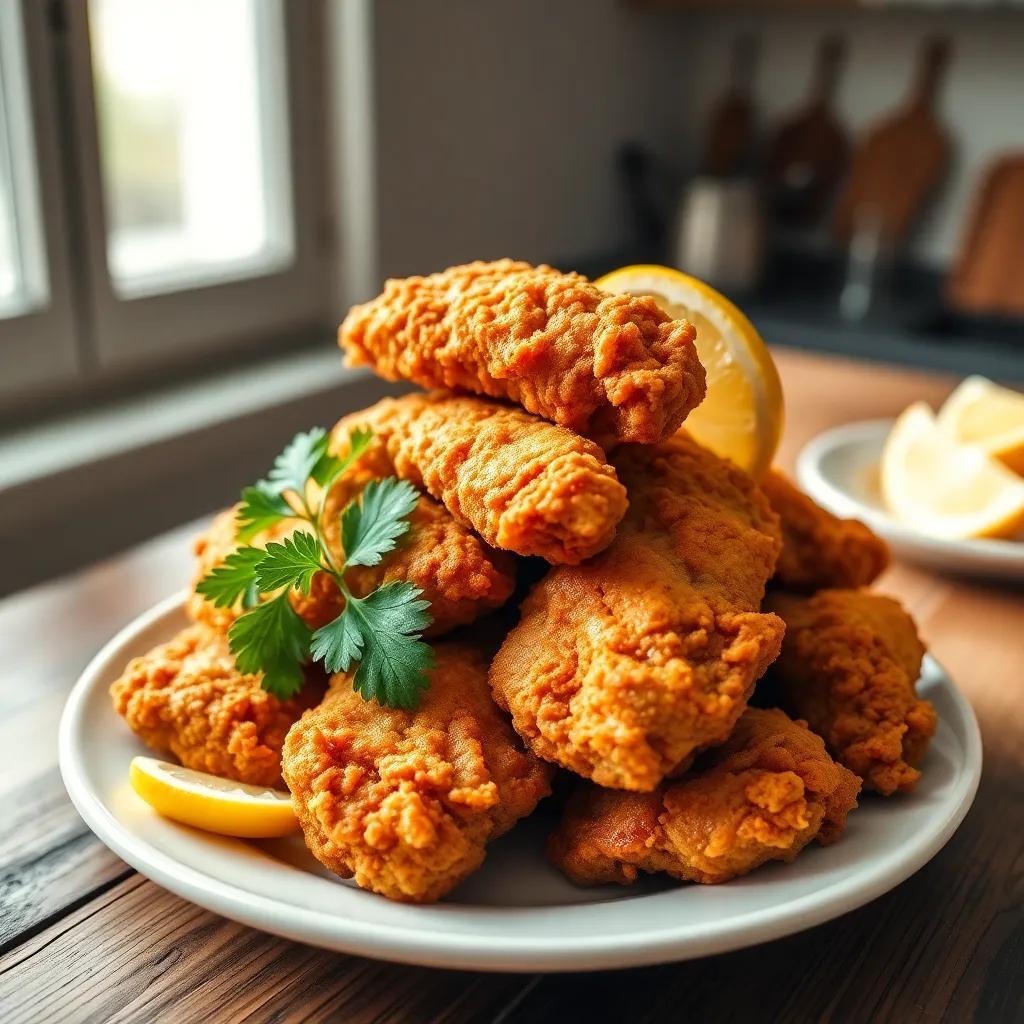
If you’re craving a plate of crispy,juicy fried chicken,you’re in for a treat! I’ll share my favorite recipe that guarantees deliciousness every time,plus easy tips for serving and storing your chicken. So, slap on that apron and get ready to fry up some magic in your kitchen!
Simple Ingredients for Delicious Fried Chicken
When it comes to making fried chicken, having the right ingredients is key! You don’t need fancy items; just a few pantry staples will do. Here’s what you’ll need to whip up a batch of mouthwatering fried chicken that’s crispy on the outside and juicy on the inside:
- 3 cups all-purpose flour: this is the base for your breading, providing that splendid crispiness.
- 5 tablespoons seasoned salt: A mix of spices that elevates the flavor.You can find it in the spice aisle or make your own by combining salt with garlic powder, onion powder, and pepper.
- 3 tablespoons garlic powder: Adds a lovely depth of flavor without overpowering the chicken.
- Salt and pepper to taste: Simple but essential seasonings for that perfect balance.
- 4 large eggs, beaten: This acts as the glue, helping the flour adhere to the chicken.
- 2 whole chickens (about 2 to 3 pounds each), cut into pieces: Choose fresh or thawed chicken for the best results. Feel free to use your favorite cuts!
- 1 quart vegetable oil for frying: A neutral oil is best for frying,ensuring that the chicken cook perfectly without imparting any strong flavors.
With these ingredients in hand, you’ll be all set for a delicious homemade fried chicken experience! Let’s get frying!
Step-by-Step Instructions to Perfect Fried Chicken
Now that you have your ingredients ready, it’s time to dive into the fun part: cooking! Here’s a simple guide to making golden, crispy fried chicken that your family and friends will rave about:
- Prepare the Coating: In a shallow bowl, whisk together the all-purpose flour, seasoned salt, garlic powder, and a pinch of salt and pepper. This mixture gives the chicken its signature crunch.
- Beat the Eggs: In another shallow bowl, beat the eggs until they’re well blended. This will help the flour stick to the chicken, creating that delicious crust.
- Coat the Chicken: Take each piece of chicken and roll it in the flour mixture,ensuring it’s well-coated. Then, dip it into the beaten eggs, allowing any excess to drip off, before rolling it back in the flour mixture.
- Heat the Oil: in a deep-fryer or a large skillet, heat the vegetable oil to 375°F (190°C). It’s hot enough when a pinch of flour sizzles upon contact.
- fry to Perfection: Carefully place the coated chicken pieces into the hot oil. Fry them for about 5 minutes on each side. Cover the skillet and lower the heat for an additional 10 minutes to cook through. Remove the cover and increase the heat for another 5 minutes on each side to achieve that crunchy exterior.
- Check for Doneness: The chicken is ready when it reaches an internal temperature of 165°F (74°C),ensuring it’s perfectly cooked. You can check this with an instant-read thermometer inserted near the bone.
- Drain and Serve: Use tongs to transfer the fried chicken to a plate lined with paper towels to drain off excess oil. Keep the chicken warm in the oven as you finish frying the remaining pieces.
Enjoy your homemade fried chicken with a tasty dipping sauce or alongside your favorite sides!
Serving Suggestions and storage Tips for Homemade Fried Chicken
Once you’ve perfected your fried chicken, deciding how to serve and store it is key to enjoying this delicious dish! Here’s how I like to present my fried chicken and what you should keep in mind for storage.
Serving Suggestions
Fried chicken is wonderfully versatile, making it perfect for casual family dinners or festive gatherings. Here’s how I love to serve it up:
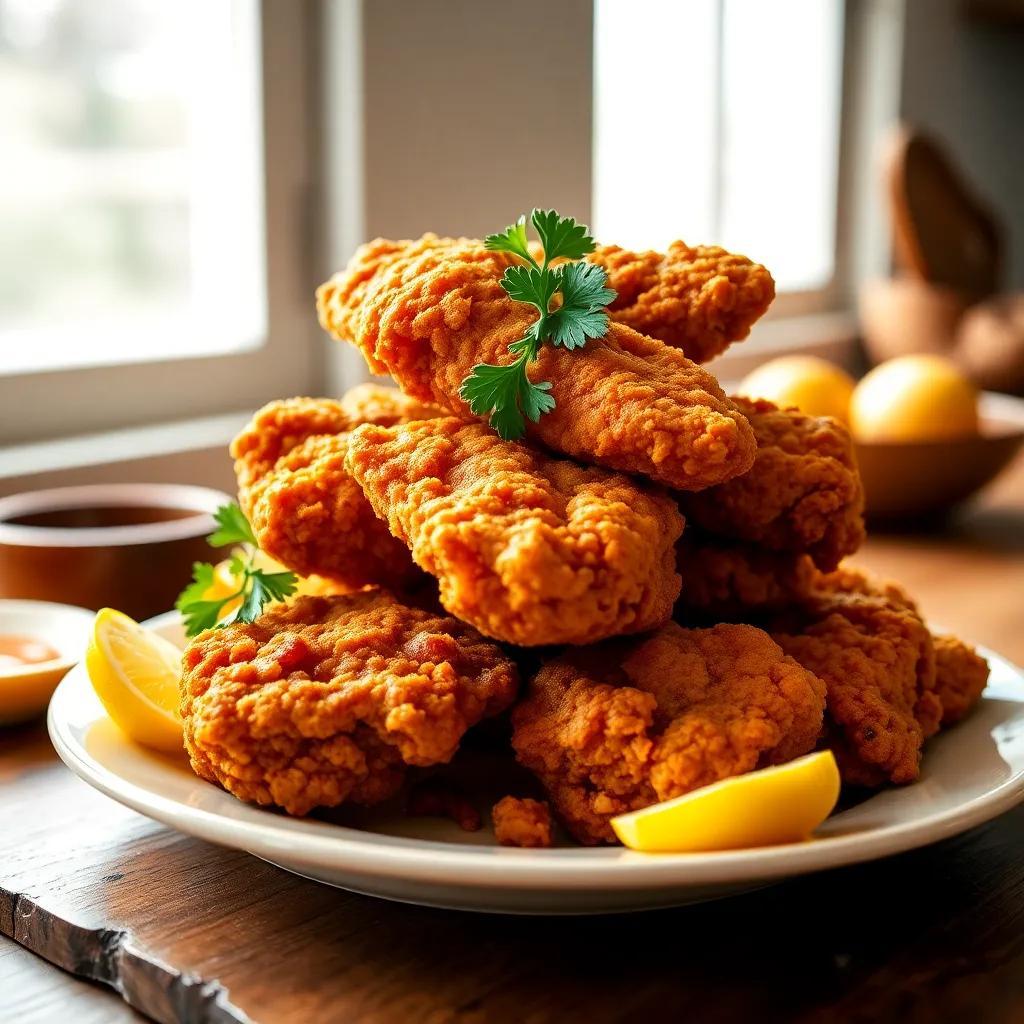
- Plating: Serve the crispy fried chicken on a large platter, garnished with fresh herbs like parsley or rosemary for a pop of color and flavor.
- Sides: Pair it with classic sides such as creamy coleslaw, buttery corn on the cob, or homemade mashed potatoes. These complement the chicken perfectly.
- Dipping Sauces: Elevate your meal with sauces! A simple homemade honey mustard or a tangy ranch dressing makes for great dipping options. For a spicy kick, try serving with Sriracha or a store-bought hot sauce.
Storage tips
If you’re lucky enough to have leftovers (which is rare!), here’s how to keep your fried chicken fresh:
- cool It Down: Allow the chicken to cool to room temperature before storing. This prevents condensation and sogginess.
- Airtight Containers: Place the chicken in an airtight container or wrap it tightly in aluminum foil to keep it from drying out. You can also use freezer bags, ensuring you remove as much air as possible.
- Refrigeration: Store in the refrigerator for up to 3-4 days. If you want to keep it longer, consider freezing it.
- Freezing: For longer storage, freeze the chicken for up to 3 months. just be sure to separate the pieces with parchment paper to prevent sticking.
When reheating, aim for 350°F (175°C) in the oven to keep the skin crispy. Enjoy your fried chicken at its best, whether fresh out of the fryer or warmed up later!
Recipe Notes and Troubleshooting for Perfect Fried Chicken
Creating the ultimate fried chicken is all about timing, temperature, and technique. Here are some notes and troubleshooting tips to ensure your chicken turns out perfectly every time.
Recipe Notes
- Marinating: Consider marinating the chicken in buttermilk or a seasoned brine for a few hours (or overnight) before frying to enhance flavor and juiciness.
- fry in Batches: don’t overcrowd the frying pan. Frying in smaller batches allows the temperature to remain constant, resulting in perfectly cooked chicken.
- Use a Thermometer: An instant-read thermometer is a handy tool to ensure your chicken reaches an internal temperature of 165°F (74°C) for safety.
Troubleshooting
- Soggy Coating: If your batter is soggy, check the oil temperature. It should be hot enough that the chicken sizzles on contact. If it’s too cool, the coating will absorb more oil, making it soggy.
- Uneven Cooking: If some pieces cook faster than others, try to cut chicken into similar sizes for even cooking. Dark meat takes a bit longer than white meat, so adjust accordingly.
- Breading Falling Off: If your breading is falling off during frying, make sure the chicken is thoroughly coated in the egg first. Letting it rest for a few minutes before frying can also help the breading adhere better.
With these notes and tips, you’ll be on your way to frying up the best chicken possible! Enjoy experimenting and refining your technique.