
millie pasquinellis fried chicken
Are you ready to whip up the crispiest, juiciest fried chicken ever? I’m excited to share my favorite recipe with you! With some simple ingredients and a few handy tips, you’ll be serving up deliciousness that’ll have everyone asking for seconds! Let’s dive in and make some tasty magic happen!
Simple Ingredients for Delicious Fried Chicken
Let’s dive into the world of mouthwatering fried chicken! The best part? You probably have most of thes ingredients in your pantry right now. I love this recipe because it’s super straightforward and guarantees crispy, juicy chicken every time you make it! So let’s get started with what you’ll need.
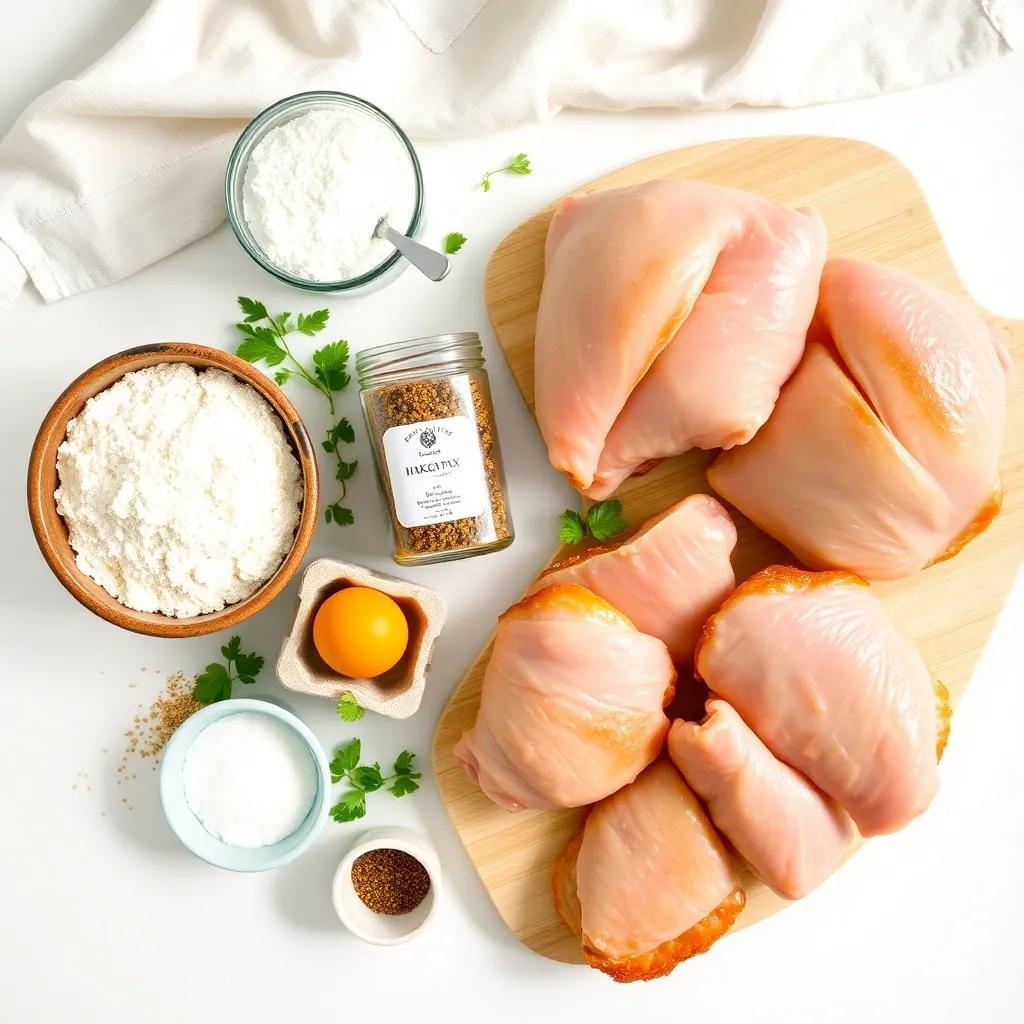
Here’s your ingredient list:
- 3 cups all-purpose flour – This is the base for that crunchy coating.You can use whole wheat flour if you’re feeling adventurous!
- 5 tablespoons seasoned salt – This adds flavor that’ll make your chicken sing! You can sprinkle a little more or less depending on your preference.
- 3 tablespoons garlic powder – As who doesn’t love the savory kick of garlic? This ingredient really amps up the taste!
- Salt and pepper – To taste! These will help to enhance the other flavors. Don’t be shy; season it to your liking.
- 4 large eggs,beaten – The binding agent that helps the flour cling to the chicken like a warm hug.
- 2 whole chickens (2 to 3 pounds each), cut into pieces – You can use just legs, thighs, or wings if that’s what you prefer.It’s all about what you love!
- 1 quart vegetable oil for frying – This is essential for that golden, crispy finish.You can also opt for canola or peanut oil if you’d like.
Each of these ingredients plays a key role in creating that satisfying crunch and juicy inside that we all crave. so, gather these goodies, and get ready to fry up some deliciousness! Trust me, you won’t be disappointed! Happy cooking!
Step-by-Step Instructions for Perfect Fried Chicken
Get ready to turn those simple ingredients into some crispy, golden fried chicken that will wow your taste buds! Follow these easy steps, and soon you’ll be savoring this comfort food delight!
- Prepare the Coating: Start by mixing 3 cups of all-purpose flour, 5 tablespoons of seasoned salt, 3 tablespoons of garlic powder, and a dash of salt and pepper in a shallow bowl. Make sure everything is well combined, so your coating has that delicious flavor!
- Get the Eggs ready: In another shallow bowl, beat 4 large eggs until they’re nice and frothy. This will help the flour stick to the chicken!
- Coat the Chicken: Take your chicken pieces and roll them in the flour mixture first. Shake off any excess flour, then dip them into the beaten eggs. After that, roll them in the flour mixture again to create a thick, flavorful coating. Repeat this for all the chicken pieces.
- Heat the Oil: In a large skillet or deep fryer,heat 1 quart of vegetable oil over medium-high heat until it reaches 375°F (190°C). You can test if the oil is ready by dropping a small amount of the flour mixture in; if it sizzles, you’re good to go!
- Fry the Chicken: Carefully place the coated chicken in the hot oil. Fry each piece for about 5 minutes on each side. Then, reduce the heat, cover the skillet, and cook for another 10 minutes on low, ensuring it cooks through while staying juicy!
- Crisp it Up: After 10 minutes, remove the cover and crank up the heat. Fry for an additional 5 minutes on each side until crispy and golden brown. Use an instant-read thermometer to check that the chicken is cooked through; the internal temperature should be 165°F (74°C).
- Drain and Serve: Once cooked, place the fried chicken on a plate lined with paper towels to drain excess oil. Keep it warm in the oven while you finish frying the rest.
Now you’re ready to enjoy your crunchy, juicy fried chicken! Doesn’t that sound delicious?
Serving and Storage Information for Fried Chicken
Once your fried chicken is cooked to perfection, it’s time to decide how to serve and store this tasty treat!
serving Suggestions
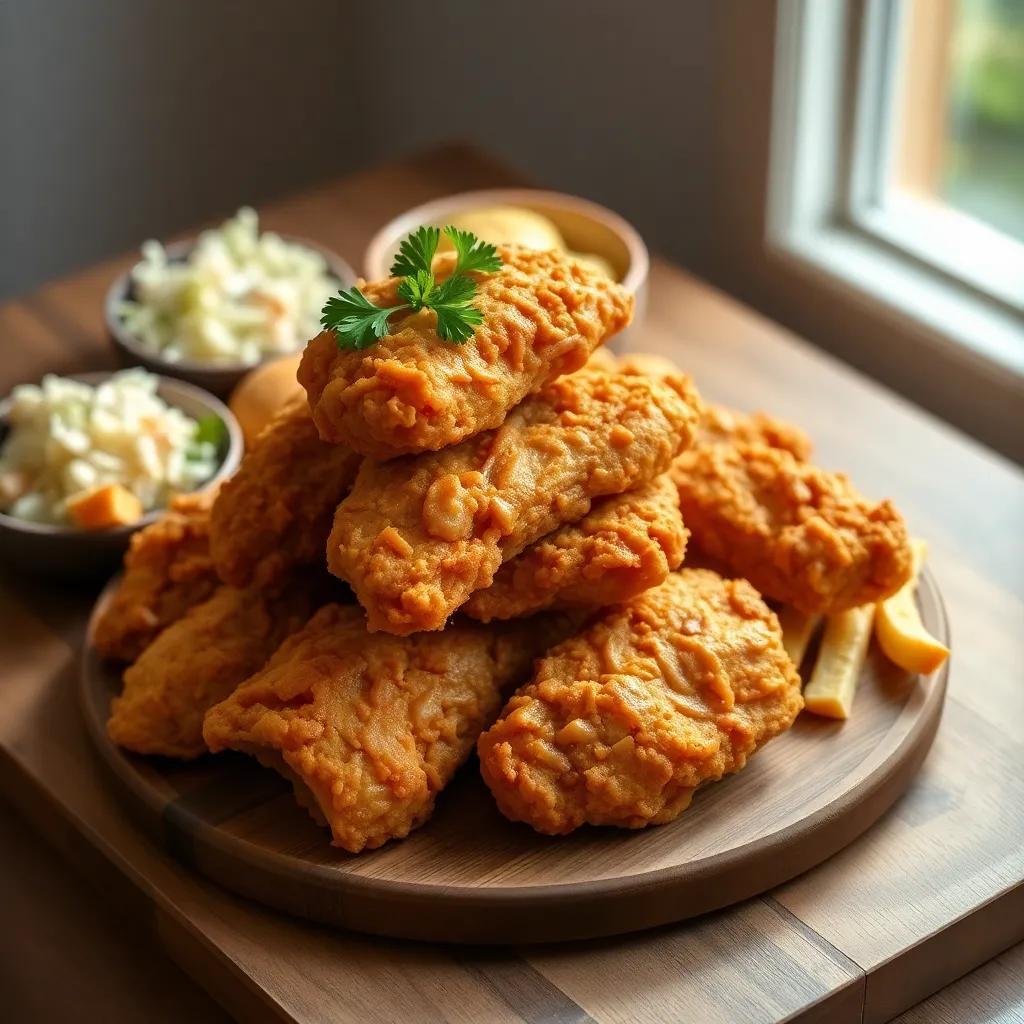
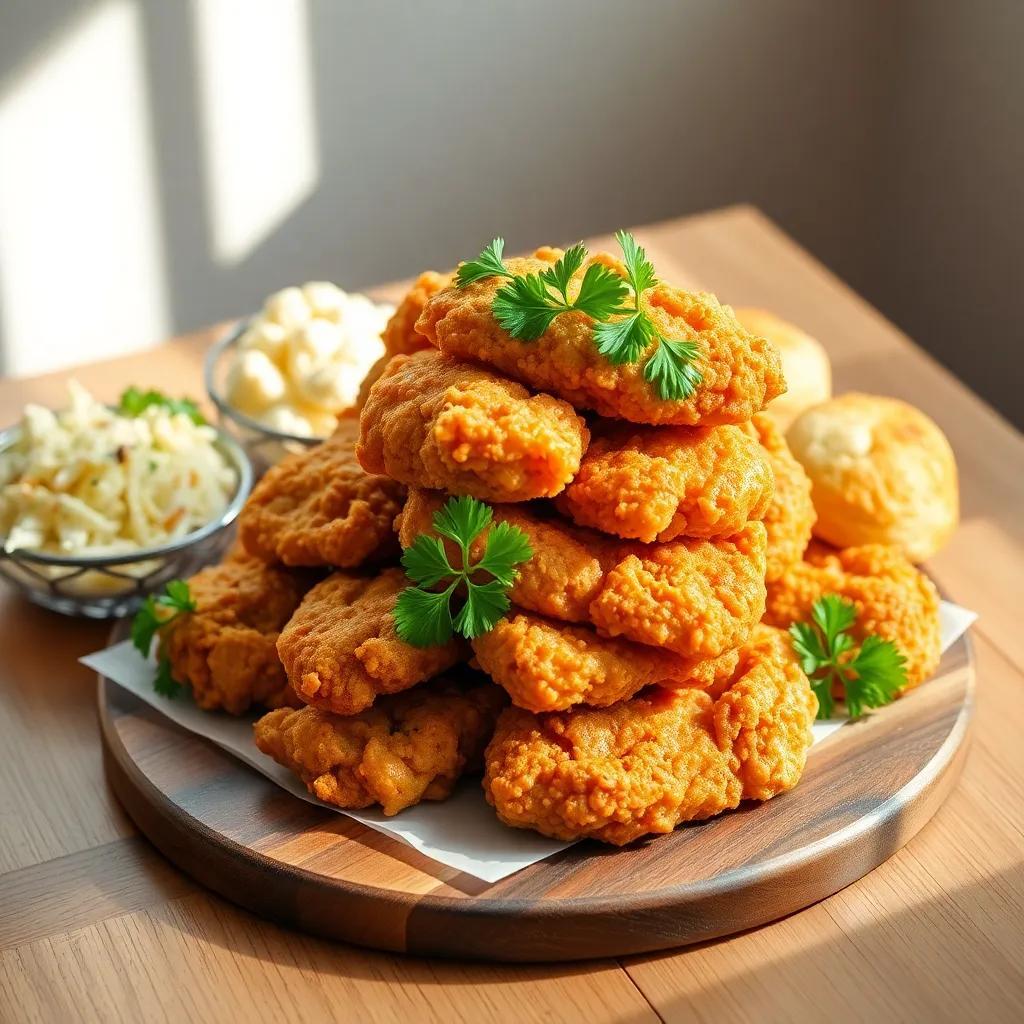
- Warm and fresh: The best way to enjoy fried chicken is fresh out of the fryer! Serve it on a big platter with some sides like mashed potatoes, coleslaw, or even homemade biscuits for a perfect comfort food meal!
- Dipping Sauces: Don’t forget to add some fun dipping sauces! BBQ sauce, honey mustard, or even ranch dressing can elevate your fried chicken experience. Yum!
Storage Tips
If you have any leftovers (which is unlikely because it’s so good!), here’s how to store them:
- Cooling Down: Let the fried chicken cool to room temperature before storing. This helps to keep the coating crispy!
- Refrigeration: Place the chicken in an airtight container or wrap it tightly with aluminum foil or plastic wrap.It can be stored in the refrigerator for up to 3-4 days.
Reheating
When you’re ready to enjoy your leftovers, here’s how to reheat them while keeping them crispy:
- oven Method: Preheat your oven to 375°F (190°C). Place the chicken on a wire rack over a baking sheet and heat for about 15-20 minutes. This helps to re-crisp the coating!
- Avoid the Microwave: If possible, avoid reheating in the microwave as it can make the coating soggy.
now you’re all set for serving and storing your delicious fried chicken! Enjoy every bite!
Helpful Tips and Troubleshooting for Perfect Fried chicken
Making fried chicken can be super fun, but we all know that sometimes things don’t go as planned. Don’t worry—I’m here to help you troubleshoot and make this the best fried chicken ever!
Common Issues and Solutions
- Flour Coating Not Sticking: If you notice that your flour mixture isn’t sticking well to the chicken, try drying the chicken pieces with a paper towel before you coat them. This helps the moisture evaporate, allowing the coating to cling better!
- Greasy Chicken: If your fried chicken ends up greasy, it might be as the oil wasn’t hot enough when you started frying. Always check that the oil is at 375°F (190°C) before adding the chicken.This ensures a crispy texture instead of greasy sogginess!
- Crispy Skin but Raw Inside: We’ve all been there! If your chicken is golden and crispy on the outside but still raw inside, lower the heat after frying for a few minutes. Covering the skillet while frying helps it cook through without burning the outside.
- Breading Falling off: If your breading is falling off during frying, it might help to let the coated chicken sit for about 10-15 minutes before frying. This sets the coating and creates a nice, thick crust when it’s cooked.
Flavor Enhancements
Want to switch things up a bit? Here are some ideas!
- Spices and Seasonings: Feel free to get creative with the seasoning. Add some paprika, cayenne pepper, or Italian herbs to the flour mixture for an extra flavor kick!
- Marination: For deeper flavor, marinate your chicken pieces in buttermilk or yogurt for a few hours (or overnight). This not only adds flavor but also tenderizes the meat.
Final Thoughts
Remember, cooking is all about experimenting and having fun! Don’t be afraid to adjust the recipe to fit your taste. With these tips and a little practice, you’ll be frying chicken like a pro in no time.Now, let’s get that kitchen buzzing with the smell of delicious fried chicken! Enjoy every crispy bite!