
garlic ginger chicken wings
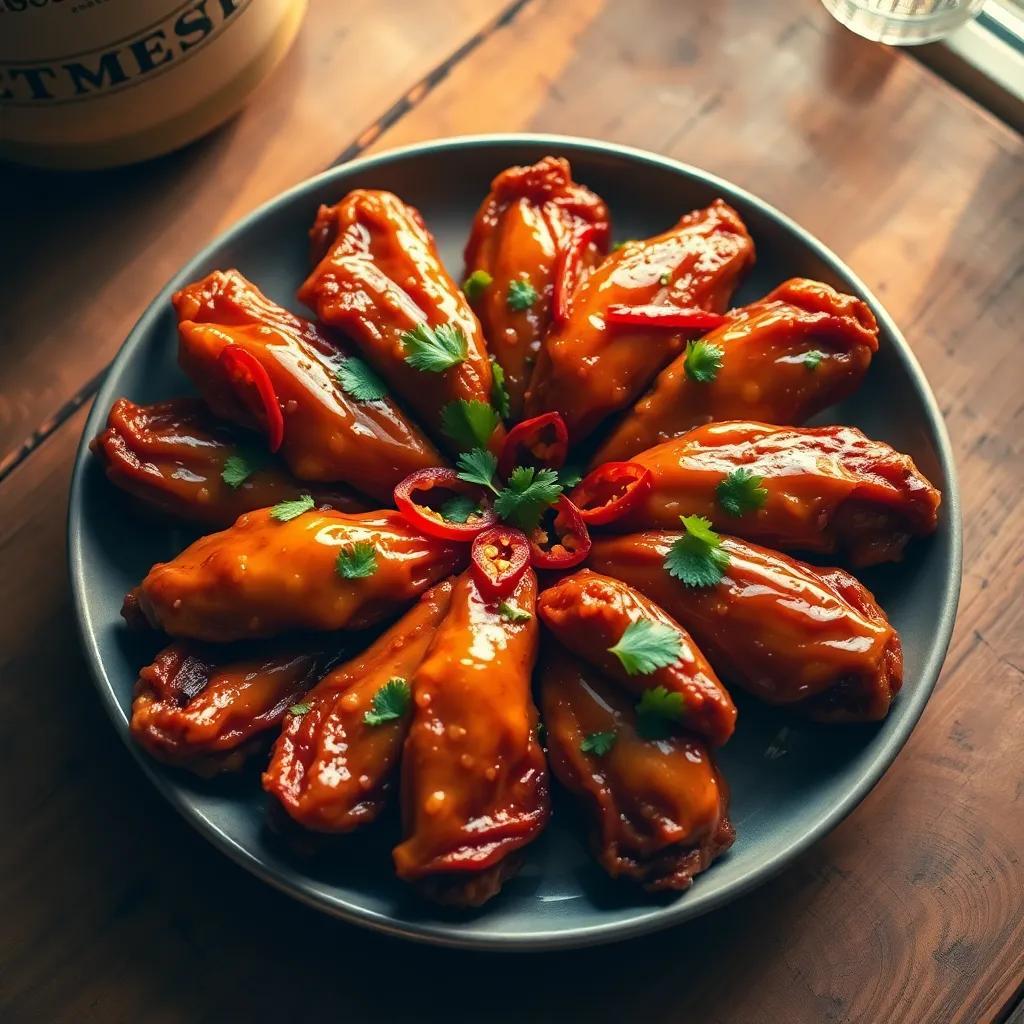
Get ready to crank up the flavor with these garlic ginger chicken wings! Crispy on the outside and sticky on the inside, these wings are perfect for your next party or just a cozy night in. With a delightful blend of spicy and sweet,they’ll have everyone coming back for more. plus, they’re super easy to make! Ready to impress your friends and family with your cooking skills? Let’s dive in!
Ingredient List
get ready to whip up some flavorful garlic ginger chicken wings that will have everyone asking for seconds! Here’s what you’ll need:
- 5 pounds chicken wings, separated at joints (discard the tips)
- 3 tablespoons hot sauce (I recommend Frank’s Red Hot for that perfect zing!)
- Salt and ground black pepper, to taste
- 2 tablespoons vegetable oil
- 1 cup all-purpose flour
- ½ cup rice wine vinegar
- ½ cup packed brown sugar
- 3 crushed garlic cloves
- 2 tablespoons minced fresh ginger
- 1 tablespoon Asian chili paste
- 1 tablespoon soy sauce
- Cooking spray for a crispy finish
Now that you have everything laid out, you’re ready to start cooking! Gather your ingredients, and let’s make some wing magic happen!
Step-by-Step Instructions
Let’s dive into the fun part—cooking these amazing chicken wings! follow these simple steps, and soon you’ll have a plate full of tasty treats:
- Preheat your oven to 400°F (200°C). While that’s warming up, line two baking sheets with aluminum foil, and give them a nice coat of cooking spray. This helps to make cleanup a breeze!
- Season the wings: In a large bowl, toss your chicken wings with hot sauce, salt, and pepper until they’re evenly coated. This is where the magic begins, so don’t be shy!
- Flour power: Transfer the seasoned wings into a large, food-safe plastic bag, add the flour, seal it up tightly, and shake, shake, shake! You want each wing to be well-coated—no wet spots left behind!
- Spread them out: Place the wings on the baking sheets, ensuring they don’t touch each other.This helps them bake up crispy! Give them another light spray of cooking spray to enhance the crunch.
- Bake them crispy: bake in your preheated oven for 30 minutes. Then, flip them over and bake for another 30 minutes until they’re golden brown and cooked through.
- make the glaze: While your wings are baking, whisk together the rice wine vinegar, brown sugar, crushed garlic, minced ginger, chili paste, and soy sauce in a saucepan. Heat it up until it reaches a boil, then remove it from the heat.
- Mix and serve: once the wings are done, toss half of them with half of the glaze in a large bowl. transfer them to a serving platter and let them sit for about 5 minutes to soak up that yummy glaze before serving. Repeat with the remaining wings and glaze, and enjoy your homemade creations!
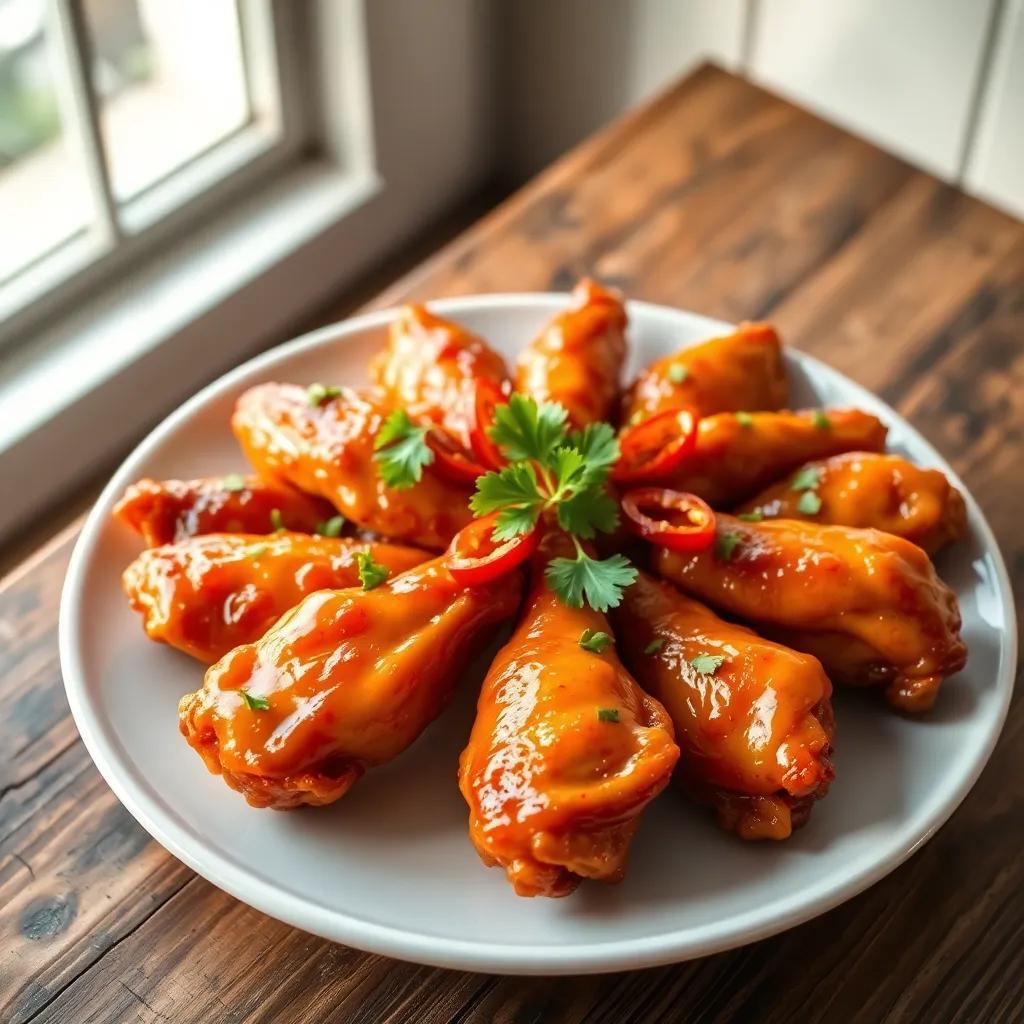
And there you have it! A simple yet mouthwatering way to enjoy crispy, sticky garlic ginger chicken wings that are sure to impress! Ready to dig in?
Serving and Storage Facts
You’ve just whipped up a batch of these fantastic garlic ginger chicken wings, and now you’re probably wondering how to serve them and what to do with any leftovers! Here are some tips to help you enjoy them to the fullest:
- Serving: These wings are perfect for sharing! They make a great appetizer for parties or game days. Serve them on a large platter with extra glaze on the side for dipping. You can also pair them with crunchy veggies like carrots and celery, and don’t forget the blue cheese or ranch dressing!
- Storing Leftovers: If you happen to have any wings left (which is quite a feat!), let them cool wholly at room temperature. Then, store them in an airtight container in the fridge for up to 3 days. For the best taste, try to eat them soon!
- freezing: Looking to save some for later? You can freeze the cooked wings! Simply place them in a freezer-safe bag, removing as much air as possible. They’ll stay fresh for up to 3 months. Just remember to label the bag with the date so you know when they were made!
- Reheating: when you’re ready to enjoy those leftovers, reheat them in the oven at 350°F (175°C) for about 10-15 minutes until they’re warmed through. This will help keep them crispy!
With these tips, you can savor every last piece of your amazing wings! Now let’s move on to some helpful notes to troubleshoot any potential hiccups.
Recipe Notes and Troubleshooting
Making wings is a fun adventure, but sometimes things don’t go exactly as planned! Here are some helpful notes to guide you and some common issues you might run into:
- Wings Won’t Crisp: If your wings aren’t crispy enough, try placing them on a rack while baking rather of directly on the foil. This allows hot air to circulate all around the wings, resulting in a crunchier texture!
- Too Saucy: If you find your wings swimming in sauce after tossing, you can always reserve some of the glaze and drizzle it on after baking. This way, you control how much you want to add!
- Glaze Isn’t Thickening: If your glaze is too thin, you can simmer it a bit longer on the stove until it reduces to your desired thickness. Just keep stirring, so it doesn’t burn!
- Flavor Adjustments: Don’t hesitate to play around with the glaze! Want it spicier? Add more chili paste! Prefer a sweeter taste? Toss in a bit more brown sugar.Make it your own!
These tips should help you navigate any bumps in the road as you cook. Happy wing-making, and let the flavor journey continue!