
fried chicken
Hey there, fried chicken enthusiasts! If you’re craving that satisfying crunch and juicy goodness, you’ve come to the right place.I’m excited to share my favorite way to whip up this classic dish that’s perfect for any meal. So, grab your apron and let’s get cooking; your taste buds are in for a treat!
Simple Ingredients for Delicious Fried Chicken
Creating a mouthwatering fried chicken dish starts with gathering the right ingredients. Thes simple yet essential components will ensure your chicken turns out perfectly crispy on the outside and juicy on the inside. Hear’s what you’ll need:
- 1 (4-pound) whole chicken, cut into pieces
- Salt (to taste)
- Black pepper (to taste)
- 1 ½ cups all-purpose flour (for a crispy coat)
- 2 quarts vegetable oil (for frying)
You can also customize your fried chicken by adding spices to the flour, such as paprika or garlic powder, to give it a little kick. I love experimenting with different seasonings to create unique flavors!
Make sure to have a large skillet or deep fryer handy, as the chicken will need enough oil to fry evenly. If you prefer, you can substitute peanut or canola oil, but vegetable oil works wonderfully for achieving that classic fried chicken taste.
With these ingredients ready, we’re all set to move on to the frying process. Let’s get that kitchen filled with the amazing aroma of freshly cooked chicken!
Easy Step-by-Step Instructions for Perfect Fried Chicken
Now that we have our ingredients,it’s time to fry up some delicious chicken! Follow these straightforward steps to achieve that golden,crispy goodness:
- Prepare the Chicken: Season the chicken pieces generously with salt and black pepper. This is where the flavor starts, so don’t be shy!
- Coat with Flour: In a large bowl, pour in the all-purpose flour. Roll each piece of seasoned chicken in the flour until thay’re fully coated. Shake off the excess flour. You want a nice, even layer that will crisp up beautifully.
- Heat the Oil: In your large skillet, add the vegetable oil and heat it over medium heat. The oil should reach about 350°F (175°C) for the perfect fry. You can test it by dropping a small piece of bread in; it should sizzle and start to brown.
- Fry the Chicken: Carefully place the chicken pieces in the hot oil,making sure not to crowd the pan. Fry for about 10-15 minutes on each side, or until the chicken is golden brown and the internal temperature reaches 165°F (75°C).
- Drain Excess Oil: Once done, transfer the fried chicken to a plate lined with paper towels to absorb any extra oil.
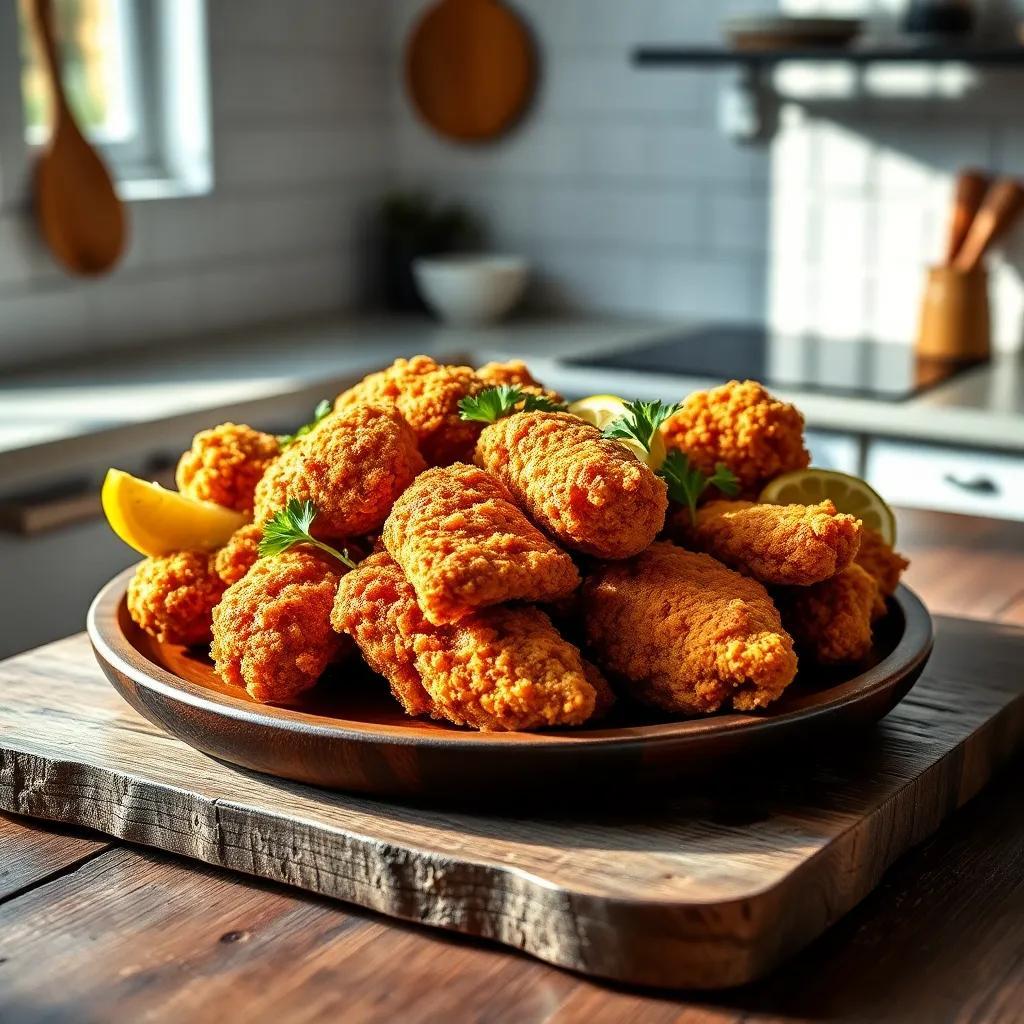
Now,look at that perfectly fried chicken! It’s ready to be served with your favorite dipping sauce. Whether you go for a classic ranch or a homemade honey mustard,this chicken will surely be a hit. Enjoy your delicious creation!
Serving and Storage Details for Perfect Fried Chicken
After you’ve made this delicious fried chicken, it’s time to think about serving and storage to enjoy it at its best.This recipe yields about 8 servings, making it perfect for family meals or gatherings.
When it’s time to serve, I recommend plating the chicken alongside some classic sides like mashed potatoes, coleslaw, or corn on the cob. You can also offer a selection of dipping sauces, such as homemade honey mustard or barbecue sauce—these pair beautifully with the crunchy exterior of the chicken.If you happen to have leftovers (which is rare!), make sure to store them properly to maintain that crispiness. Allow the fried chicken to cool entirely, then place it in an airtight container. Store it in the refrigerator for up to 3 days. When ready to reheat, avoid the microwave, as it can make the chicken soggy. Instead, pop it back in a preheated oven at 375°F (190°C) for about 10-15 minutes or until warmed through. This will help revive that delightful crunch!
For longer storage, you can freeze the fried chicken. Wrap each piece tightly in plastic wrap and then place them in a freezer-safe bag. They can be stored in the freezer for up to 3 months. When you’re ready to enjoy, thaw the chicken overnight in the refrigerator before reheating.
By following these serving and storage tips, you’ll get the most out of your delicious fried chicken!
Recipe Notes and Troubleshooting for Fried Chicken
making the perfect fried chicken can sometimes come with a few challenges, but don’t worry! Here are some handy notes and troubleshooting tips to guide you along the way:
- getting That Perfect Crunch: If your chicken isn’t as crispy as you’d like, make sure the oil is hot enough before adding the chicken. A temperature range of 350°F to 375°F (175°C to 190°C) is ideal. Too cool and your chicken may absorb oil, leading to a soggy texture.
- even Cooking: To ensure even cooking, all chicken pieces should be roughly the same size. If you’re using larger pieces, consider cutting them smaller for quicker cooking.
- check for Doneness: The best way to check if your chicken is cooked through is to use an instant-read thermometer. It should read 165°F (75°C) in the thickest part of the meat, like the thigh. This guarantees that it’s safe to eat.
- Flavor variations: Feel free to play around with the seasoning in your flour mixture. Adding spices like cayenne pepper, onion powder, or dried herbs can elevate the flavor.
- Oil Cleanup: After frying, let the oil cool completely before discarding it. You can strain it through a fine-mesh sieve and reuse it a few times if you’re frying again in the near future.
Just remember, practice makes perfect! each time you whip up this fried chicken, you’ll get closer to your ideal recipe. Enjoy the process, and don’t hesitate to make adjustments that suit your taste!