
beer can chicken
Are you ready to impress your friends and family with a show-stopping dinner? Let me introduce you to Beer Can Chicken—a fun and tasty way to cook juicy, flavorful chicken that’s sure to be the star of your next BBQ! With just a few simple ingredients and steps, you’ll be the grill master in no time. So, grab a beer and let’s get cooking!
simple Ingredients for Delicious Beer Can Chicken
Making Beer Can Chicken is all about using simple and flavorful ingredients that come together to create a juicy, mouth-watering dish. Here’s what you’ll need to get started:
- 1 (3-pound) whole chicken: Choose a fresh chicken for the best flavor and texture. Free-range or organic chickens can really elevate the taste.
- ½ can (12 fluid ounces) of beer: You can use any light lager or ale you prefer. The beer adds moisture and a unique flavor to the chicken during cooking.
- ⅓ cup brown sugar: This will help create a delicious caramelization on the skin, giving you that sweet and savory flavor.
- 2 tablespoons chili powder: This spice gives a wonderful warmth and depth to the dish.
- 2 tablespoons paprika: Use smoked paprika for an added layer of flavor, enhancing that BBQ taste.
- 2 teaspoons dry mustard: This adds a nice tanginess and helps to balance out the sweetness of the brown sugar.
- ½ teaspoon salt: A must to enhance all the flavors.
- ¼ teaspoon ground black pepper: For a subtle kick.
These ingredients combine beautifully to make your chicken flavorful and moist. Plus,you can always adjust the spice mix to suit your taste! I love playing around with the ratios to make it my own. Ready to dive in? Let’s get to cooking!
Step-by-step Instructions for Perfect Beer Can Chicken
Cooking Beer Can Chicken may seem intimidating,but trust me,it’s quite simple and fun! Follow these easy steps to achieve chicken perfection:
- Preheat your grill: Start by preheating your outdoor grill to medium-high heat,around 375°F (190°C). Getting the grill hot beforehand sets the stage for cooking the chicken evenly.
- Prepare the spice mixture: In a small bowl, mix the brown sugar, chili powder, paprika, dry mustard, salt, and black pepper until well combined. This will be your flavor bomb!
- Prep the chicken: Rinse the whole chicken under cold water and pat it dry with paper towels. Removing moisture helps with achieving that crispy skin.
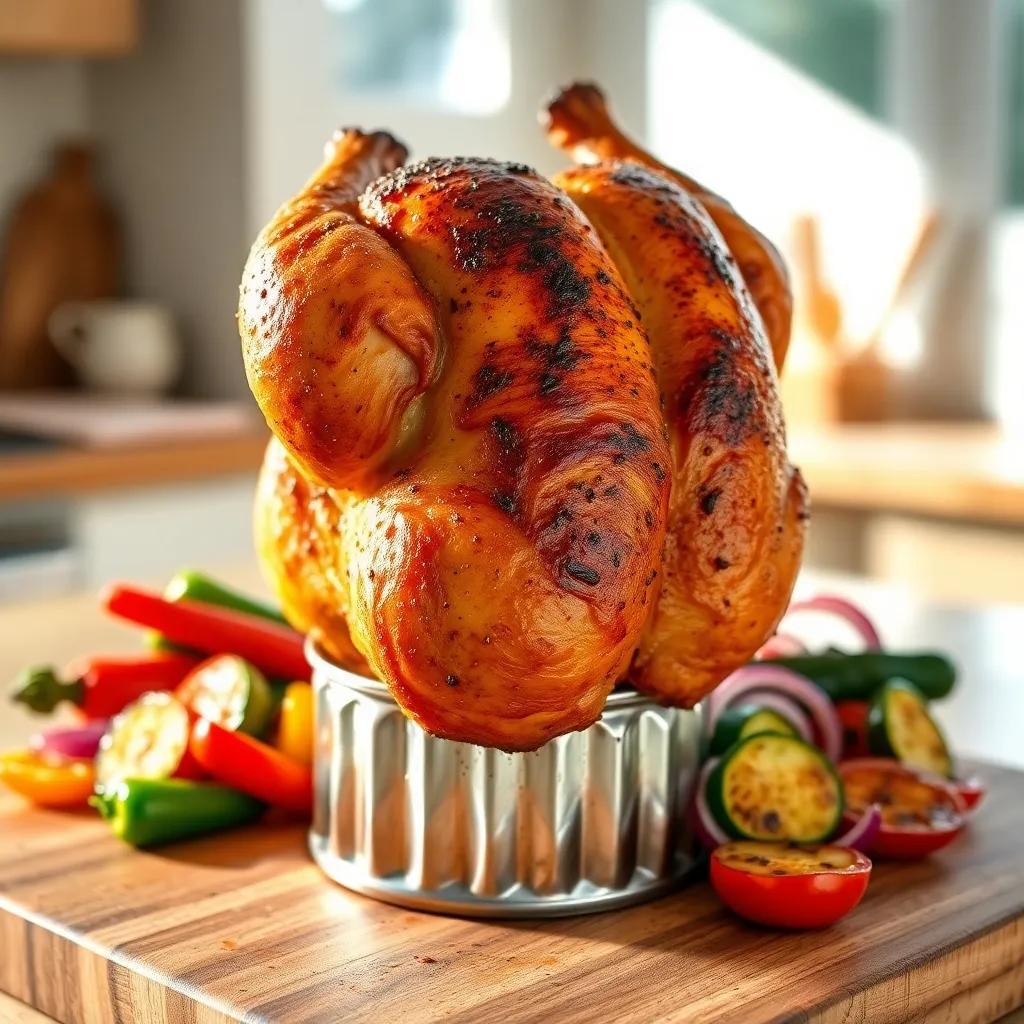
- Beer can positioning: Take a half-full can of your chosen beer and place it upright in the center of a plate. This will be the stand for your chicken!
- Season the chicken: carefully fit the chicken over the beer can, so it stands upright with its legs on the bottom. Sprinkle about 1 teaspoon of the spice mixture into the chicken’s cavity, and then rub the remaining seasoning all over its surface. Don’t be shy—get that flavor everywhere!
- Grill the chicken: Place the chicken, still standing on the beer can, directly on the grill. Close the lid and cook for about 1 hour and 15 minutes,or until the internal temperature reaches 165°F (74°C) in the thickest part of the thigh.
- Rest before serving: Once done, carefully remove the chicken from the grill (it will be hot!) and let it rest covered with aluminum foil for about 10 minutes. This will help keep it juicy while you prepare to dig in!
Enjoy your savory beer Can Chicken—it’s a delightful centerpiece for any BBQ!
Serving and Storage Details for Beer Can Chicken
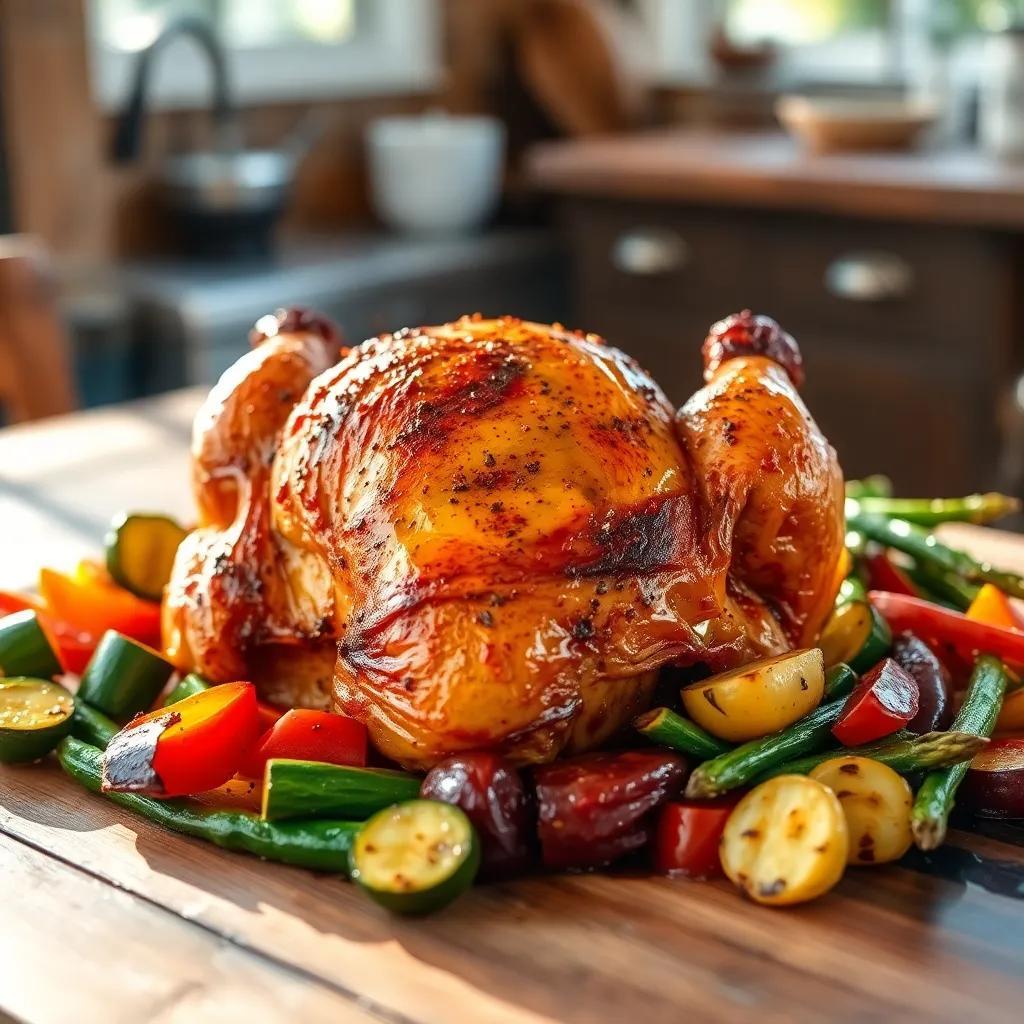
Once your Beer Can Chicken is cooked to perfection,it’s time to enjoy it! This dish serves about 4 people,making it perfect for a family dinner or a gathering with friends. I love to pair it with some grilled vegetables, coleslaw, or even a fresh garden salad for a well-rounded meal.
Serving Recommendations:
- Carving the Chicken: After resting, carefully carve the chicken into serving pieces. You can serve it with your favorite dipping sauce—try a tangy barbecue sauce or a zesty garlic aioli to elevate the flavors.
- Garnishing: Adding fresh herbs, such as parsley or cilantro, can add a pop of freshness to the plate.
Storage Guidelines:
If you have leftovers (though I doubt it), let the chicken cool wholly before storing. Here’s how to keep it fresh:
- Refrigeration: Place the leftover chicken in an airtight container and store it in the refrigerator. It will stay delicious for up to 3 days.
- Freezing: If you’d like to keep it longer, you can freeze the chicken. Wrap it tightly in plastic wrap and then in aluminum foil or place it in a freezer-safe bag. It can be frozen for up to 3 months. Just remember to label it with the date!
Reheating Tips:
To reheat, I recommend using the oven for that perfectly crispy skin. Preheat your oven to 375°F (190°C) and reheat the chicken for about 20 minutes, or until heated through. If you’re short on time, the microwave will work too, though it may not keep the skin as crispy.
Helpful Recipe Notes and Troubleshooting for Beer Can Chicken
Cooking Beer Can Chicken can be straightforward, but here are some handy tips to make sure everything goes smoothly:
Common Issues and Solutions:
- Chicken Not Browning: If your chicken isn’t browning as you’d like, it might very well be that the grill temperature is too low. Make sure it’s preheated properly. If you need more browning, you can finish it off under the broiler for a few minutes at the end of cooking.
- Dry Chicken: If your chicken turns out dry, it might be overcooked. Using a meat thermometer is key here; target 165°F (74°C) in the thigh. Resting the chicken after cooking also helps keep it juicy.
Flavor Variations:
feel free to experiment! You can try different spices or marinades to create a unique flavor profile. For a bit of heat, add cayenne pepper to your spice mix. If you enjoy a sweet flavor, consider adding some apple cider to the beer can.
Beer Choices:
The beer you choose can affect the final taste.Lighter beers like lagers work well, but a flavorful stout can add depth too. Consider using a fruit-infused beer for a twist, like a cherry or citrus beer, to enhance the dish’s flavor.
By keeping these tips in mind, you’re all set for a successful Beer Can Chicken experience. Enjoy the deliciousness!