
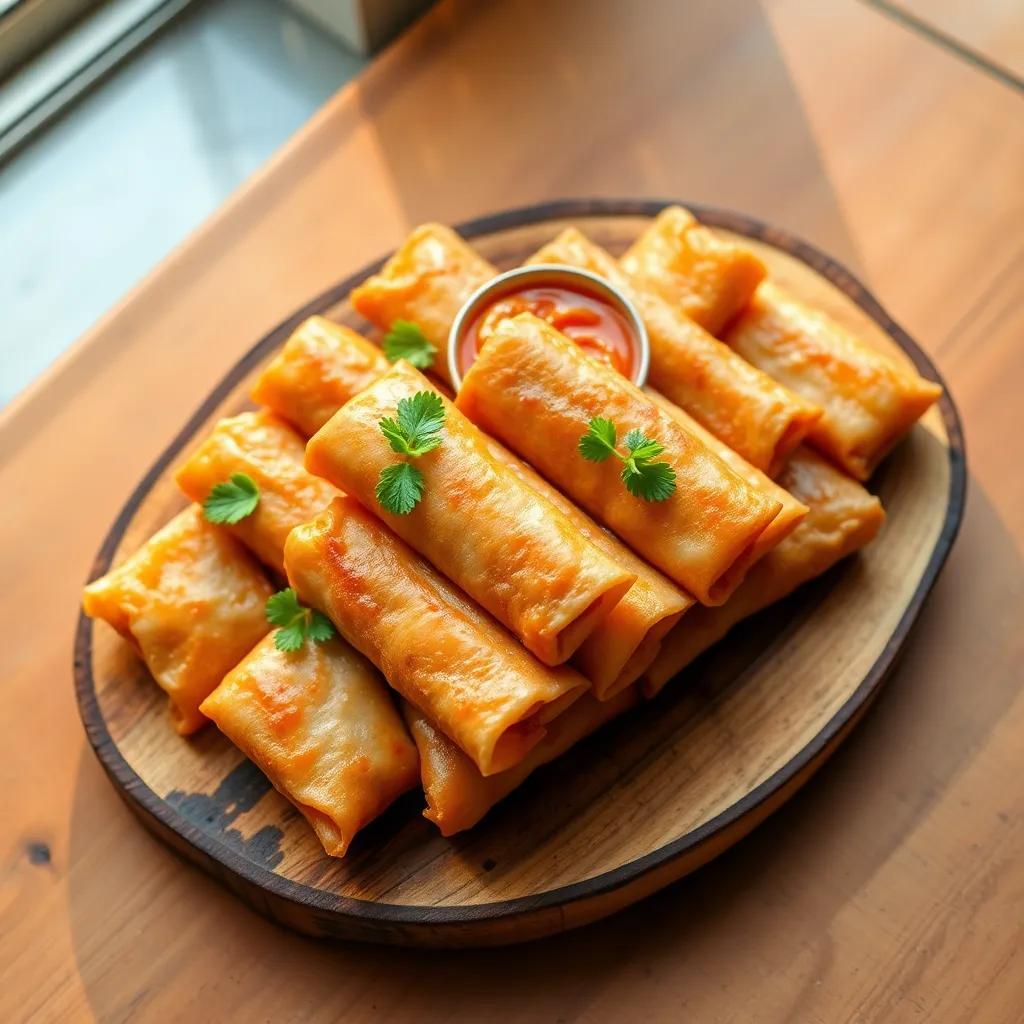
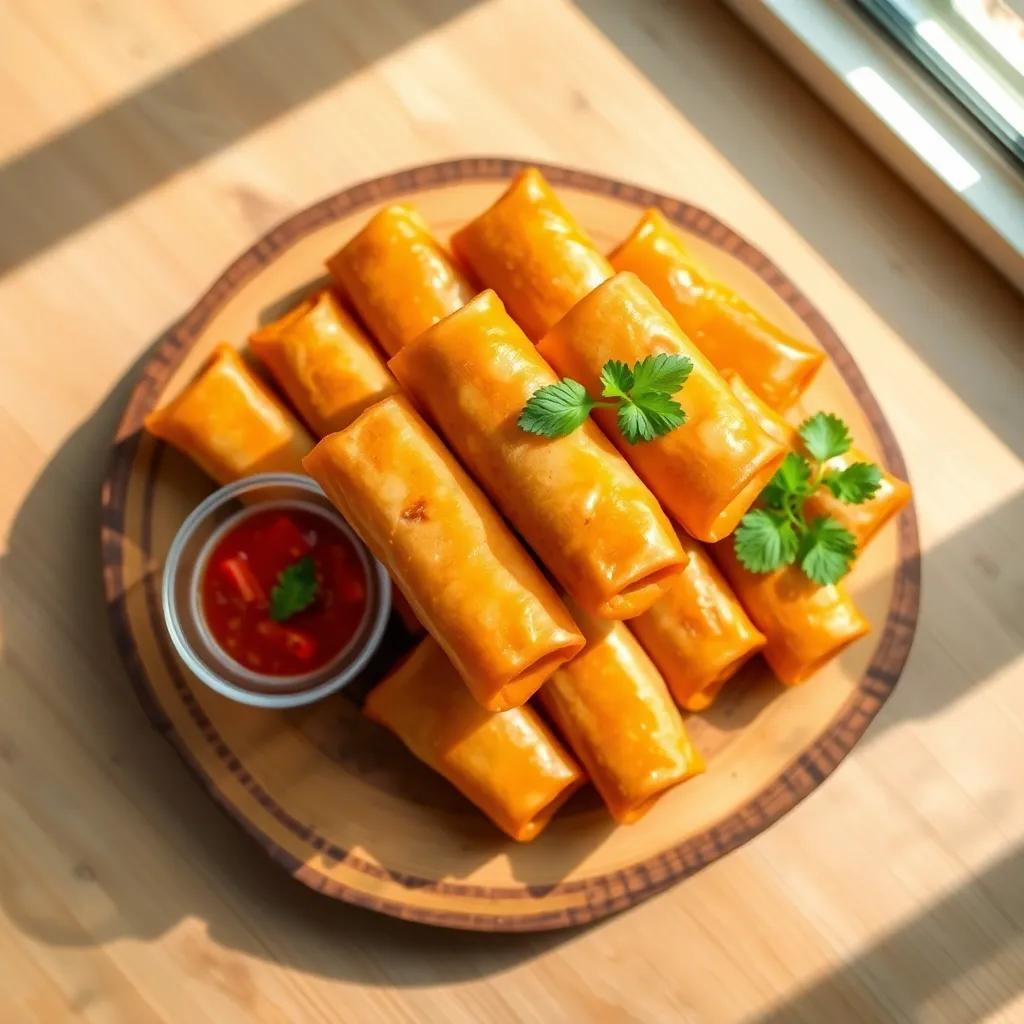
authentic vietnamese spring rolls nem ran hay cha gio
Are you ready to dive into the world of crispy, flavorful delights? Making Vietnamese fried Spring Rolls is not just a cooking task; it’s a fun adventure! Join me as I share my favorite recipe, filled with fresh ingredients and tasty tips that will have your friends and family begging for more!
Simple Ingredients for Authentic Vietnamese Fried Spring Rolls
Making Authentic Vietnamese Fried Spring Rolls is all about using fresh, simple ingredients that come together to create a deliciously crunchy treat. Here’s what you’ll need to gather to get started:
- 2 ounces dried thin rice noodles
These will add a lovely texture to your filling.
- ¾ cup ground chicken
For a rich flavor, you can also use ground pork if you prefer.
- ¼ cup shrimp
Make sure they are washed, peeled, and cut into small pieces for easy mixing.
- 2 large eggs
these will help bind your filling together.
- 1 medium carrot, grated
Adds a sweet crunch and vibrant color.
- 4 wood fungus mushrooms, chopped
These give a nice earthy flavor. Feel free to use shiitake mushrooms as a substitute.
- 2 green onions, chopped
For a fresh, oniony kick.
- ½ teaspoon white sugar
This balances the flavors in your filling.
- ½ teaspoon salt
Enhances all the tastes.
- ½ teaspoon ground black pepper
For a bit of warmth.
- 24 rice paper wrappers
The classic outer layer for your spring rolls.
- 2 cups vegetable oil for frying
Use this for that perfect crispy finish!
These ingredients are easy to find at your local grocery store or Asian market.Once you have everything, you’re ready for an exciting cooking adventure that brings a bit of Vietnam right into your kitchen!
step-by-Step Instructions for Making Crispy Spring Rolls
Now that we have our ingredients ready, let’s dive into the fun part: making the Crispy Vietnamese Fried Spring Rolls! Follow these simple steps for a appetizing result:
- soak the rice noodles
Start by soaking the dried rice noodles in cold water for about 20 minutes, or until they are soft. Once soft, drain them well and cut into 2-inch pieces.
- Mix the filling
In a large bowl, combine the soaked noodles, ground chicken, shrimp, beaten eggs, grated carrot, chopped wood fungus mushrooms, and chopped green onions. Add sugar, salt, and black pepper, then stir well to mix everything evenly.
- prepare the rice paper
Soak one rice paper wrapper in warm water for about 15 seconds until it becomes pliable. Place it on a damp cloth on a flat surface.
- fill the wrapper
Add 1 tablespoon of your filling mixture to the center of the softened wrapper. fold the bottom edge over the filling, then fold in the sides, and roll it up tightly. Repeat this process with the remaining wrappers.
- Fry the spring rolls
Heat the vegetable oil in a wok or large skillet over medium heat. Fry the spring rolls in batches of 3 or 4 until they turn golden brown and crispy, about 5 minutes. Be sure to turn them to cook evenly! Drain on paper towels.
These spring rolls are perfect for sharing, and they pair wonderfully with a homemade dipping sauce! Enjoy crunching into these delicious bites.
Serving and Storage Tips for Vietnamese Fried Spring Rolls
Once you’ve mastered the art of making Vietnamese Fried Spring Rolls, it’s time to enjoy them! these crispy delights are perfect for sharing or savoring on your own. Here’s how to serve and store them for the best experience:
Serving Suggestions:
- Presentation: Arrange the spring rolls on a platter and serve them warm for the best crunch. You can garnish with fresh herbs, like mint or cilantro, to add a pop of color and flavor.
- Dipping Sauce: Pair these spring rolls with a delicious dipping sauce. A simple nuoc cham, wich is a blend of fish sauce, lime juice, sugar, and chili, complements the rolls beautifully. You can also try sweet chili sauce or soy sauce for an alternative taste.
- Side Dishes: Consider serving them alongside a refreshing salad or a bowl of hot soup for a complete meal.
Storage Tips:
- Leftovers: If you have any spring rolls left, let them cool wholly before storing. Place them in an airtight container lined with paper towels to absorb moisture, which helps maintain their crunch.
- Refrigeration: Store the spring rolls in the refrigerator for up to 2-3 days. They are best enjoyed fresh, but if refrigerated, they can still be tasty.
- Reheating: To restore some of the original crispness, reheat the spring rolls in an oven at 350°F (175°C) for about 10-15 minutes until heated through. Avoid microwaving, as this can make them soggy.
- Freezing: For longer storage, you can freeze uncooked spring rolls.Place them on a baking sheet in a single layer until frozen, then transfer them to a zip-top bag. When ready to cook, fry them straight from frozen, adding a couple of extra minutes to the cooking time.
With these serving and storage tips, you can enjoy your Vietnamese Fried Spring rolls at their best!
Helpful Recipe Notes and Troubleshooting
Cooking can sometimes be a bit tricky, so here are some helpful notes and troubleshooting tips to ensure your Vietnamese Fried Spring Rolls turn out perfectly every time.
Ingredient Substitutions:
- Proteins: If you prefer different proteins, feel free to substitute ground chicken with pork, beef, or tofu for a vegetarian option.
- Mushrooms: While I love wood fungus mushrooms, you can easily use shiitake or button mushrooms if that’s what you have on hand.
Common Challenges:
- Wrapper issues: If the rice paper wrappers are tearing, they might be too dry or too wet. Soak them just until pliable—about 15 seconds is usually perfect. If they’re too wet, lay them on a cloth to absorb some moisture.
- Frying Tips: For the best frying results, make sure the oil is hot enough. Test the oil by dropping in a small piece of wrapper; it should sizzle immediately. If it doesn’t, heat the oil a bit more.
- Filling too Wet: If your filling feels too moist, consider adding more grated carrot or a bit of cornstarch to help bind it together.
Final Touches:
- Crunch Factor: For an extra crunch, you can add a bit of shredded cabbage to the filling mix. This gives another texture and adds a delightful twist.
- cooking Time: keep an eye on the frying process. Each batch usually takes about 5 minutes, but timing may vary depending on your stove and the size of your rolls.
By following these notes and addressing common issues, you’ll have no trouble creating delicious and perfectly fried spring rolls. Happy cooking!