
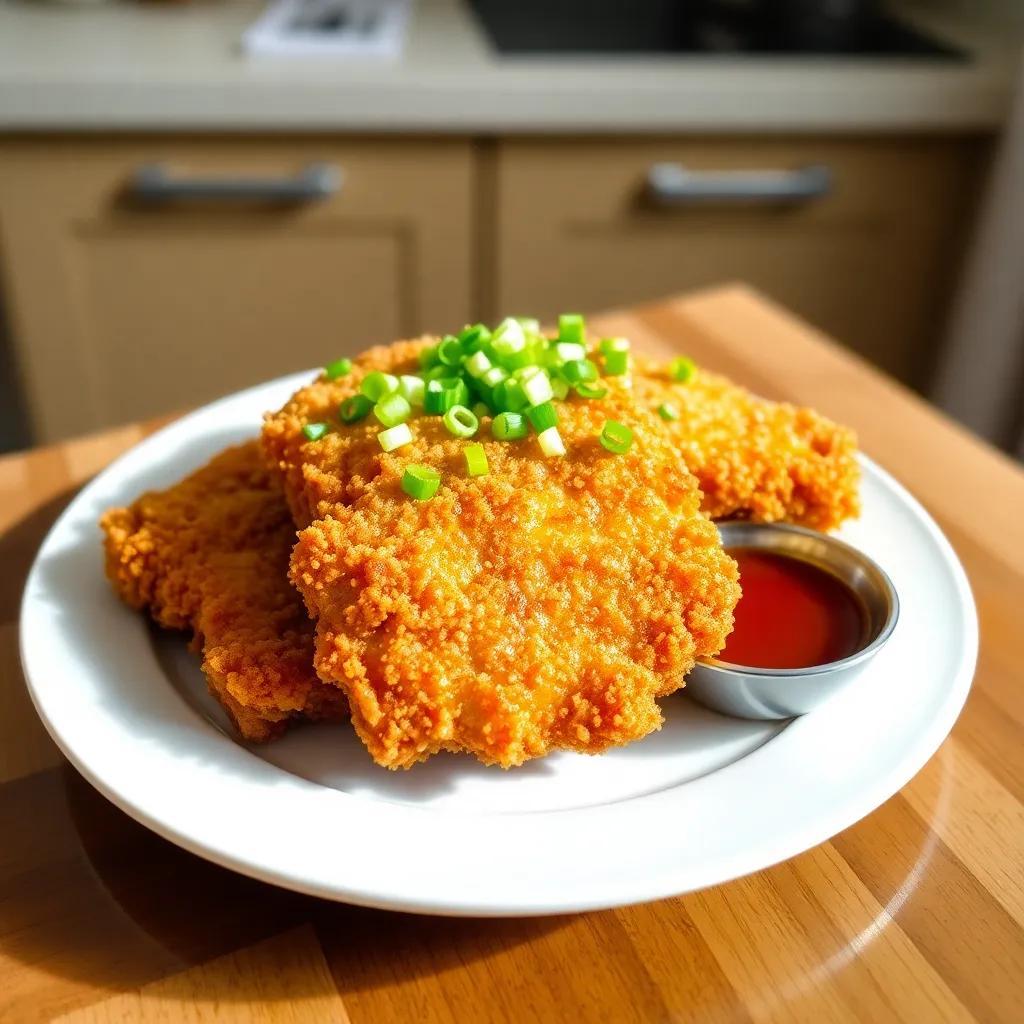
air fryer chicken katsu
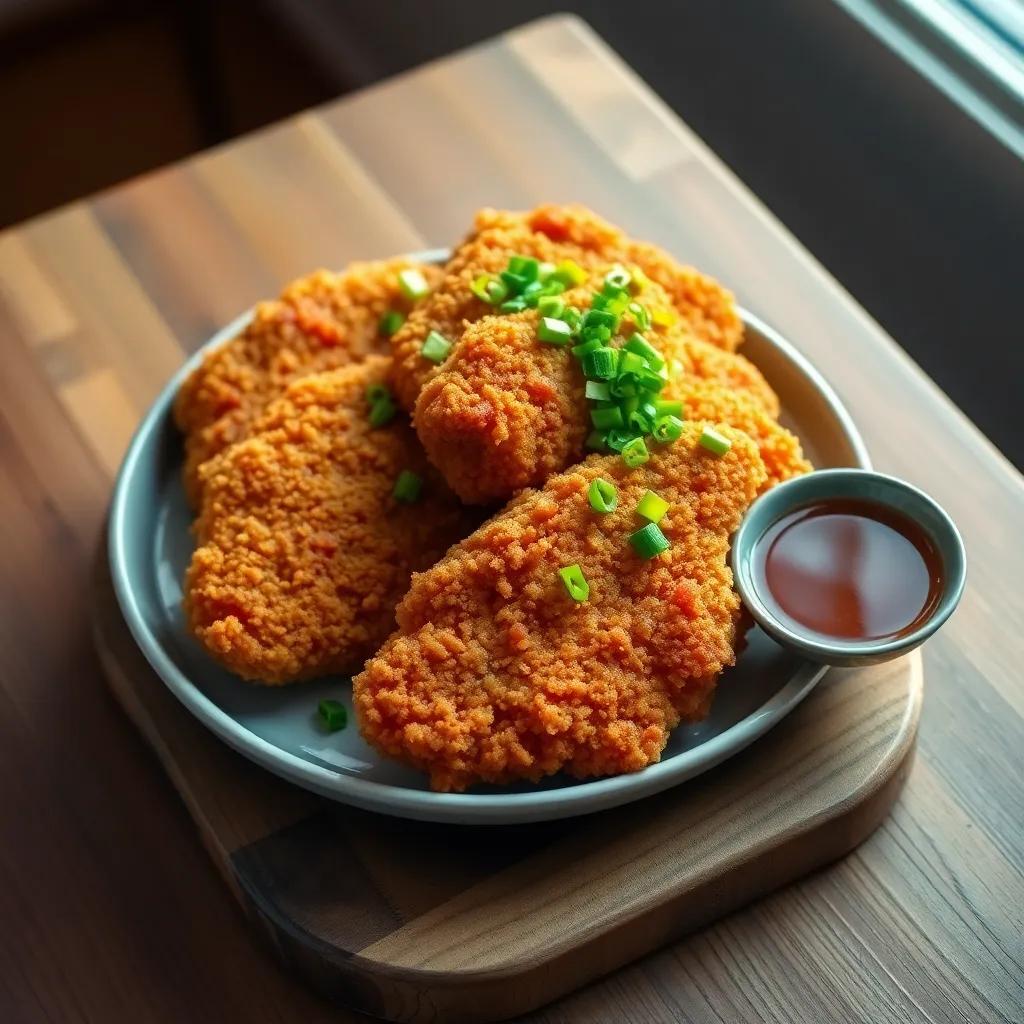
Are you ready to whip up somthing delicious and crispy? Let me introduce you to my tasty Air Fryer Chicken Katsu! This dish is not only super easy to make, but it also packs a punch of flavor that will have your taste buds dancing. Trust me, once you try it, you’ll want to make it again and again!
Simple Ingredients for Delicious Air Fryer Chicken Katsu
Let’s gather the simple ingredients you’ll need to create this tasty Air Fryer Chicken Katsu. This dish is not only fast to make but also packed with flavor, thanks to the delightful crunchy texture of Japanese panko breadcrumbs. Here’s what you need:
Ingredients:
- 1 large egg: This will help the breadcrumbs stick to the chicken.
- Salt: Just a pinch to enhance the flavor.
- 1 cup panko bread crumbs: The star of the show! These coarse breadcrumbs make your chicken super crunchy.
- ¾ pound chicken breast cutlets: You can also use chicken thighs if you prefer them juicier.
- Avocado oil cooking spray: For that golden, crunchy texture without the extra calories.
- 1 tablespoon barbecue sauce (optional): For dipping. You can also try tonkatsu sauce for an authentic taste.
- 1 tablespoon chopped green onions (optional): for a fresh garnish that adds a pop of color and flavor.
Gather these ingredients, and you’re ready to start cooking! the best part? You probably already have most of these in your pantry. I love how this recipe turns simple ingredients into a fantastic meal that you can whip up in no time.
Step-by-Step Instructions for Making Air Fryer Chicken Katsu
Now that we have our ingredients ready, let’s dive into the step-by-step process to make this delightful Air Fryer Chicken Katsu. Follow along; you’ll be enjoying this dish in no time!
Instructions:
- Preheat the Air Fryer: Start by preheating your air fryer to 400°F (200°C). This ensures that your chicken cooks evenly and gets that lovely crispy coating.
- Prepare the Egg Mixture: In a shallow bowl, beat the egg together with a pinch of salt. This mixture acts as glue for the breadcrumbs.
- Dredge the Chicken: Place the panko bread crumbs on a plate. Dip each chicken cutlet into the egg mixture, letting the excess dribble off.Then, coat the cutlet in the panko breadcrumbs, pressing gently to ensure a good layer sticks.
- Arrange and spray: Lay the coated cutlets on a piece of parchment paper. Generously spray both sides with avocado oil cooking spray to promote that crunchy texture.
- Air-Fry the Chicken: Place the cutlets in the basket of your air fryer. Cook for 5 minutes, flip them over, and then cook for an additional 4 minutes. You’re looking for a nice golden color and a crispy exterior.
- Serve and Enjoy: Once cooked, you can serve the chicken with your choice of dipping sauce. I recommend drizzling a bit of barbecue sauce or tonkatsu sauce over the top, garnished with the chopped green onions. It’s a perfect blend of flavors!
ther you have it! Simple steps to create a delicious meal. The beauty of Air Fryer Chicken Katsu is how quickly you can prepare it while delivering amazing flavors. Enjoy your cooking!
Serving and Storage Guidelines for Air Fryer Chicken Katsu
once your delicious Air Fryer Chicken Katsu is ready, it’s time to think about serving and storing it. This dish is perfect for a quick lunch, a satisfying dinner, or even a delightful snack. Here’s how to make the most of it:
Serving Suggestions:
- Pair with Dipping Sauces: Serve your chicken katsu with sauces like tonkatsu or a sweet and tangy barbecue sauce.You can also try serving it alongside a simple soy sauce or a homemade ginger dip for an added zing.
- Accompaniments: This meal pairs wonderfully with steamed rice, a fresh salad, or even some stir-fried vegetables. You can plate it beautifully by placing the chicken over a bed of rice and garnishing with chopped green onions for a pop of color.
- serving Size: This recipe yields about 2 servings, making it perfect for a date night or a small family meal.
Storage Tips:
- Refrigeration: If you have leftovers, let the chicken cool down, then store it in an airtight container in the refrigerator. It’s best consumed within 3 days for optimal flavor and texture.
- Freezing: You can freeze the cooked chicken katsu as well. Wrap each piece tightly in foil or freezer-safe bags, and it should last for about 2 months in the freezer. Just make sure to label the bags with the date.
- Reheating: To keep your katsu crispy when reheating, consider using the air fryer again. Preheat it to 350°F (175°C) and air-fry for a few minutes until heated through. This way, you’ll bring back that delightful crunch.
With these serving and storage tips, you can enjoy your Air Fryer Chicken Katsu anytime!
Helpful Recipe Notes and Troubleshooting Tips for Air Fryer Chicken Katsu
Making Air Fryer Chicken Katsu can be a delightful experience, but here are some helpful notes and troubleshooting tips to ensure everything goes smoothly.
Recipe Notes:
- Panko Breadcrumbs: For the best texture,stick with Japanese panko breadcrumbs. They create that signature crunch that regular breadcrumbs just can’t match.
- Chicken Preparation: Ensure your chicken cutlets are evenly sized for uniform cooking. If they are thick, consider pounding them down to about ½ inch thick for even cooking.
- Spice It Up: Feel free to add a touch of garlic powder or paprika to the panko for an extra layer of flavor.
Troubleshooting Tips:
- If the Coating is Not Crispy: If you find that your chicken isn’t as crispy as you’d like, make sure you’re using enough cooking spray. Coat both sides of the chicken generously.
- Uneven Cooking: If your chicken is cooking unevenly, try not to overcrowd the air fryer basket. Give each piece enough space for air to circulate.
- Cooking Time Variations: Keep in mind that cooking times may vary based on the thickness of the chicken and the specific air fryer model. It’s always a good idea to check for an internal temperature of 165°F (75°C) to ensure it’s fully cooked.
By following these notes and troubleshooting tips, you’ll be well on your way to creating the perfect Air Fryer Chicken Katsu. Enjoy!