
eds favorite beer can chicken rub
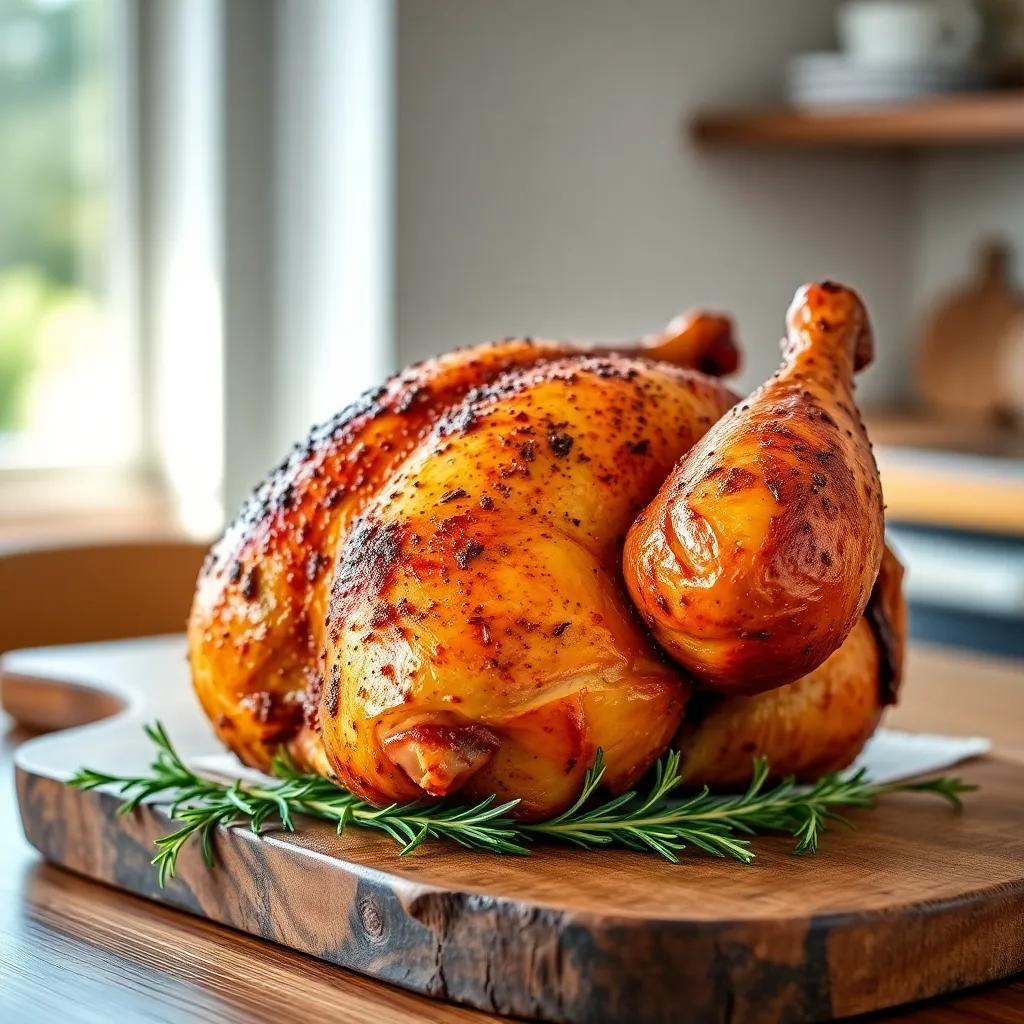
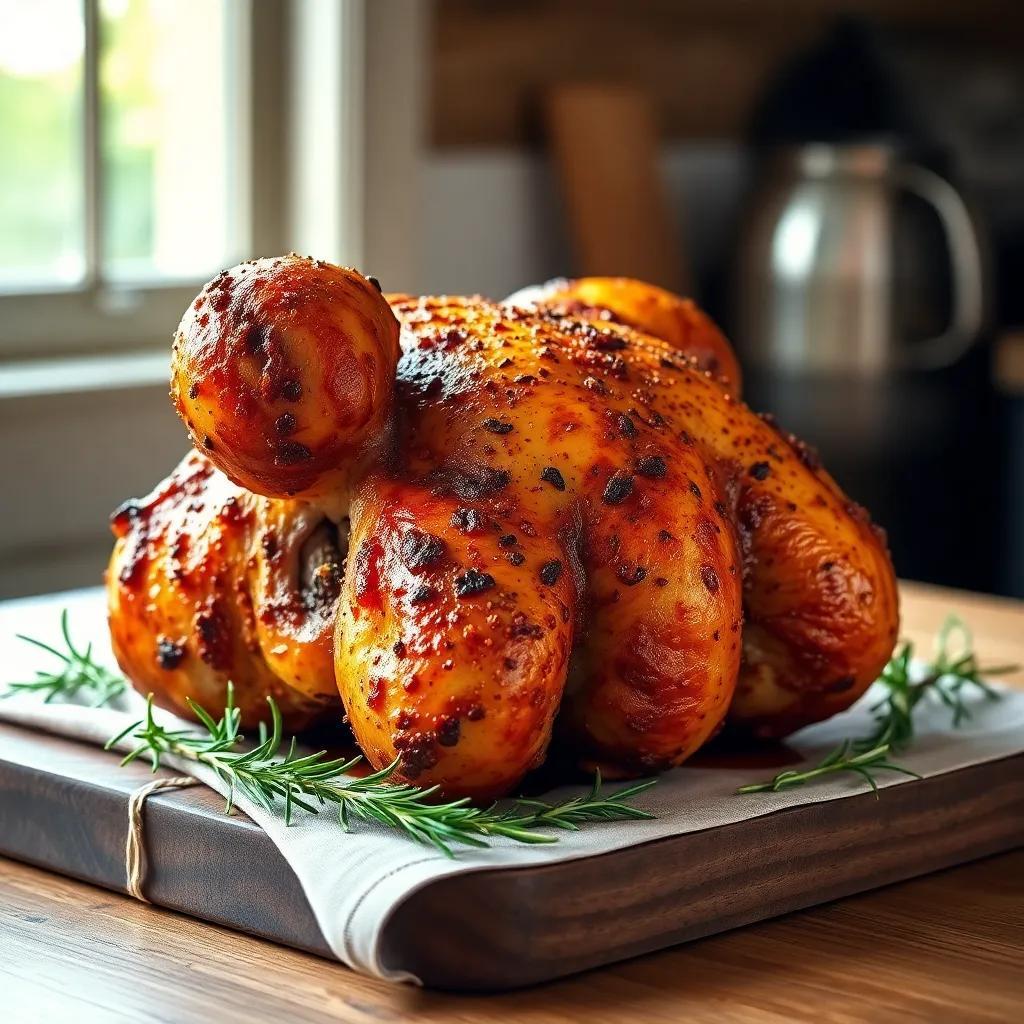
If you love the smoky, bold flavors of grilled chicken, than you’re in for a treat! I’m excited to share my favourite beer can chicken rub recipe, which is a real crowd-pleaser at any cookout. With just a handful of simple spices, you can elevate your grilling game and impress your friends and family. Ready to dive in? Let’s get started!
simple Ingredients for Tasty Beer can Chicken Rub
Creating a mouthwatering beer can chicken rub is all about using quality ingredients that pack a punch. Here’s what you’ll need to whip up a flavorful seasoning that’s perfect for your next barbecue or gathering:
- 2 tablespoons of brown sugar – This adds a touch of sweetness to balance the spices.
- 2 tablespoons of dry mustard – It gives a tangy flavor that elevates the dish.
- 2 tablespoons of granulated onion – This provides a savory undertone that enhances the overall taste.
- 2 tablespoons of paprika – For that vibrant color and a subtle smokiness.
- 2 tablespoons of kosher salt – Essential for bringing out all the flavors.
- 1 tablespoon of garlic powder – As garlic makes everything better!
- 1 tablespoon of ground coriander – This adds a unique, citrusy note.
- 1 tablespoon of ground cumin – It gives a warm, earthy flavor to the rub.
- 1 tablespoon of ground black pepper – For a touch of heat and depth.
- 1 teaspoon of cayenne pepper – Adjust to taste for that spicy kick.
These ingredients mix together beautifully to create a rub that’s not only versatile for chicken but also works wonders on pork or any other meats you desire. Gather your spices and let’s get ready to make this flavorful rub that will become a staple in your kitchen!
Easy Step-by-Step Instructions for Making Beer Can Chicken Rub
Now that we have our ingredients ready, let’s dive into the simple steps to create this amazing beer can chicken rub. It’s fast and satisfying, so grab a medium bowl and let’s get mixing!
- Combine the Ingredients: Start by adding the brown sugar, dry mustard, granulated onion, paprika, and kosher salt into your bowl.
- Add the Spices: Next, sprinkle in the garlic powder, ground coriander, ground cumin, ground black pepper, and cayenne pepper.
- Mix Thoroughly: Use a whisk or a spoon to mix all the ingredients together until they are well combined. You want to ensure that no lumps remain and the spices are evenly distributed.
- Taste and Adjust: Before using, take a small taste of your rub. Feel free to adjust the spices if you want more heat or sweetness.
- Storage: If you’re not using the rub immediately, transfer it to an airtight container to keep it fresh.It can sit in your pantry for several weeks!
That’s it! You’ve created a delightful beer can chicken rub that’s bursting with flavor.It’s perfect for grilling season,and the best part is,you can prepare it ahead of time. Enjoy the compliments you’ll receive when this rub takes your dishes to another level!
Serving and Storage Data for Beer Can Chicken Rub
Once you’ve created this amazing beer can chicken rub, it’s all about serving and storing it properly. This seasoning mix is incredibly versatile, making it perfect not just for chicken but also for pork, beef, and even vegetables on the grill. Here’s how to get the most out of your rub.
Serving Suggestions:
- Coating Your Chicken: Generously sprinkle about 1-2 tablespoons of the rub per pound of chicken before grilling or roasting. Make sure to rub it in well for the best flavor.
- Add to Other Proteins: Feel free to use the same amount on pork chops or ribs for a delicious twist!
- Sprinkle on Veggies: toss your favorite vegetables like zucchini, corn, or bell peppers with a little olive oil and the rub before grilling for a tasty side dish.
Storage Tips:
- Airtight Container: Store any leftover rub in a sealed jar or an airtight container. This will help retain its freshness and flavor.
- Cool, Dry Place: Keep the rub in a cool, dry area away from direct sunlight. It should last for about 4 to 6 weeks when stored properly.
- Freezing Option: If you like to make big batches, consider freezing portions in small bags. Just remember to label them so you no what’s inside!
With these serving and storage tips, you can enjoy your homemade beer can chicken rub anytime you crave those bold flavors.
Recipe Notes and Troubleshooting for Beer Can Chicken Rub
Creating the perfect beer can chicken rub is straightforward,but here are some notes and tips to ensure success every time.
Flavor Adjustments:
- Sweetness Level: If you prefer a sweeter rub, feel free to increase the brown sugar by a tablespoon or two.
- Spice Level: For those who love heat, adding more cayenne pepper is a great idea.Start with small amounts, taste as you go, and adjust according to your preference.
Ingredient Quality:
- Using fresh spices will greatly enhance the flavor of your rub. If your spices are over six months old, consider replacing them for a fresher taste.
- If you can find it, opt for smoked paprika instead of regular paprika for an extra smoky flavor that pairs wonderfully with grilled meats.
Common Issues:
- Clumping: If your rub clumps together, try sifting the mixture through a fine mesh strainer to break up the lumps.
- Too Salty: if you find the rub a bit too salty,you can balance it by adding a touch more sugar or other spices to dilute the saltiness.
If you follow these notes and troubleshoot any minor issues, your beer can chicken rub will turn out fantastic every time. Enjoy experimenting with it,and happy cooking!