
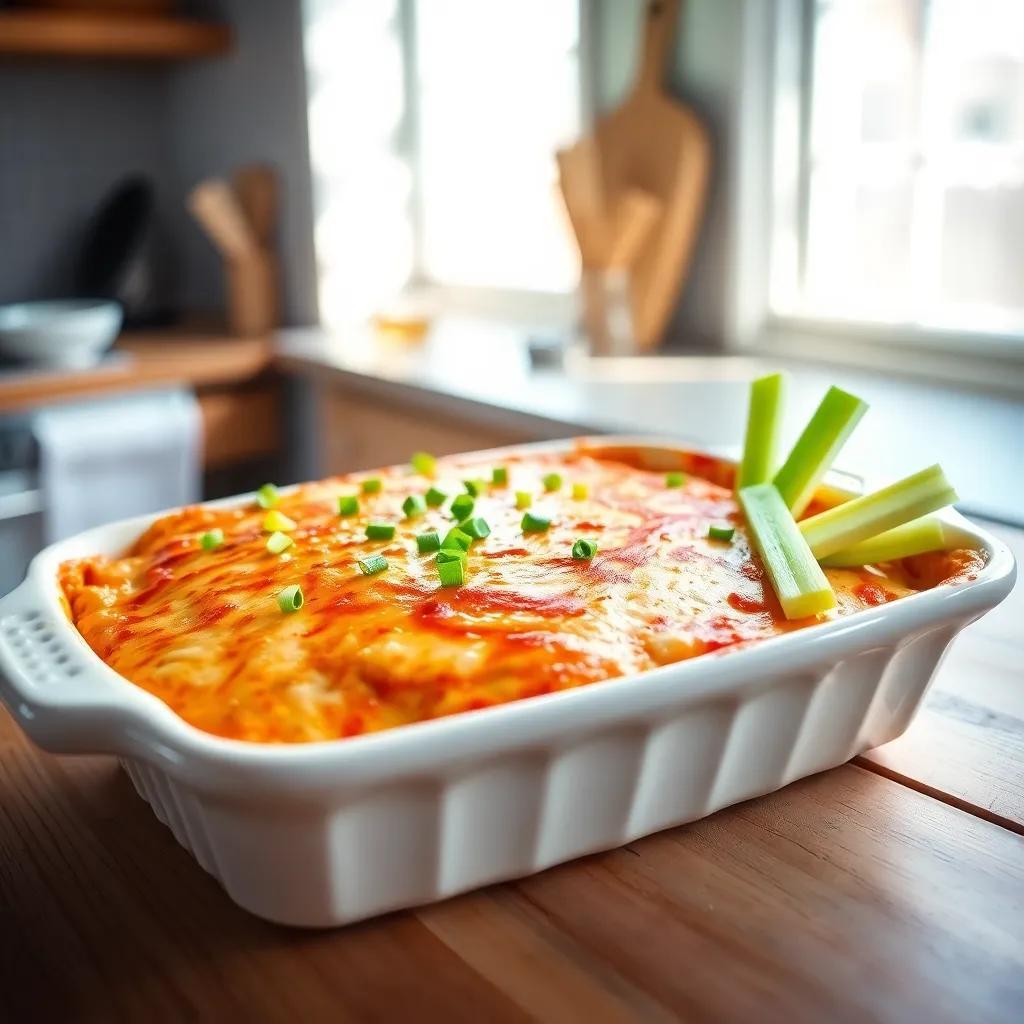
baked buffalo chicken dip
Are you ready to create a dip that will steal the spotlight at your next gathering? I can’t wait to share my favorite Baked Buffalo Chicken Dip recipe with you! Packed with flavor, it’s creamy, cheesy, and has just the right amount of kick to keep everyone coming back for more. Trust me,this dip is a game-changer!
Simple Ingredients for Delectable Baked Buffalo Chicken Dip
When it comes to making a crowd-pleasing Baked Buffalo Chicken dip,having the right ingredients is key! Let’s gather everything we need. Here’s what you’ll want to have on hand:
- 3 cups diced cooked rotisserie chicken
- 2 (8-ounce) packages cream cheese, softened to room temperature
- ¾ cup hot pepper sauce (I recommend Frank’s RedHot for that perfect kick)
- ½ cup shredded pepper Jack cheese
- ½ cup blue cheese dressing (or ranch if you prefer a milder flavor)
- ½ cup crumbled blue cheese for that rich flavor
- ½ teaspoon seafood seasoning (Old Bay adds a nice touch)
- 2 pinches cayenne pepper, divided (adjust based on your heat preference)
- 2 tablespoons shredded pepper Jack cheese for the topping
- 1 tablespoon thinly sliced green onions (optional, but they add a fresh crunch)
These ingredients come together to create a creamy, spicy dip that’s perfect for game days, parties, or just because! The combination of rotisserie chicken and cream cheese really makes this dip rich and satisfying. You can customize the level of spiciness by adjusting the hot sauce and cayenne pepper to match your taste.
Make sure to have all these ingredients ready to go. It will make the planning a breeze and keep the focus on enjoying the cooking process!
Easy Step-by-Step Instructions for Making Baked Buffalo Chicken Dip
Now that we have our ingredients ready, it’s time to put them all together! Follow these simple steps to create a delicious Baked Buffalo Chicken Dip that everyone will love.
- Preheat Your Oven: Start by heating your oven to 400°F (200°C). This will ensure that your dip bakes evenly and gets that lovely golden goodness on top.
- Mix the Ingredients: In a large mixing bowl, combine the diced rotisserie chicken, softened cream cheese, hot pepper sauce, ½ cup pepper Jack cheese, blue cheese dressing, crumbled blue cheese, seafood seasoning, and a pinch of cayenne pepper. Mix well until everything is thoroughly combined and smooth.
- Transfer to Baking Dish: take a 9-inch round baking dish and spoon the mixture into it. Spread it out evenly with a spatula, making sure to get every last bit!
- Top with Cheese: Sprinkle the remaining 2 tablespoons of pepper Jack cheese over the top. This will create a marvelous cheesy crust.
- Bake to Perfection: Place the baking dish in your preheated oven and bake for 15 to 20 minutes. You want the top to be beautifully golden brown and the dip heated thru.
- Finishing Touches: Once out of the oven, sprinkle another pinch of cayenne pepper over the top, and don’t forget those optional sliced green onions for some color and crunch.
- Serve and Enjoy: Now it’s time to dig in! Serve your dip warm with crunchy celery sticks, tortilla chips, or crackers.
This easy-to-follow recipe is sure to impress at your next gathering. Enjoy your homemade Baked Buffalo chicken Dip!

Serving and Storage Tips for Baked Buffalo Chicken Dip
after making your delicious Baked Buffalo Chicken Dip,you’ll want to know the best ways to serve and store it to keep that flavor fresh. This dip is perfect for parties, game days, or even a cozy movie night at home!
Serving Suggestions
I love serving this dip straight from the oven while it’s still warm, and here are a few ideas to make it even better:
- Serving Dishes: Use a nice chip and dip platter or set the baking dish on a heat-resistant trivet for easy serving.
- Dippers: Pair the dip with crunchy celery sticks, tortilla chips, crackers, or even sliced baguette for a delightful contrast in texture.
- Garnish: Consider topping the dip with a sprinkle of sliced green onions or a dollop of sour cream to add a bit of creaminess.
Storage Details
If you have leftovers (and that’s a big if!), here’s how to store them:
- Refrigeration: Allow the dip to cool entirely, then cover it tightly with plastic wrap or transfer it to an airtight container. It can be kept in the fridge for up to 3-4 days.
- Freezing: If you want to make it ahead of time, you can freeze the assembled dip before baking. Just wrap it well in plastic wrap and aluminum foil. When you’re ready to bake it,just let it thaw in the fridge overnight before baking as directed. It’s best used within 3 months if frozen.
Before serving leftovers, you can reheat the dip in the oven at 350°F (175°C) until it’s heated through and bubbly, or pop it in the microwave for a speedy reheating. Just be cautious not to overcook it, as the cream cheese can separate.
Helpful Notes and Troubleshooting for Perfect Baked Buffalo Chicken Dip
Making the perfect Baked Buffalo Chicken Dip can be easy, but sometimes things can go a bit off. Here are some pointers and troubleshooting tips to help you create a consistently amazing dip.
Ingredients Variations
- Chicken Options: If you don’t have rotisserie chicken on hand, you can use any cooked chicken you have. Just shred it and mix it into your dip.
- Cheese Choices: For those who aren’t fans of blue cheese, feel free to substitute it with more pepper Jack cheese or even mozzarella for a milder flavor.
Cooking Tips
- Mixing: Make sure to mix the ingredients well to avoid clumps of cream cheese. A hand mixer can be helpful if the cream cheese is a bit stubborn.
- Adjusting Spice: If you find the dip too spicy, you can balance it out by adding a bit more cream cheese or ranch dressing. Conversely, if you want more heat, just add an extra splash of hot sauce or a pinch of cayenne.
Common Issues
- Separation: If you notice the dip separating when baking,it could be due to overbaking. Keep an eye on it and take it out as soon as the top is golden brown.
With these notes and troubleshooting tips, you’ll be well on your way to mastering your baked Buffalo Chicken Dip. Enjoy the cooking process, and don’t hesitate to make it your own!